Project Car Diaries: I Wasn’t Sure How To Mount My Fancy New Bumper so I Just Started Wrenching
Sometimes you just need to do exploratory surgery on your car.

We may earn revenue from the products available on this page and participate in affiliate programs. Learn more ›
This dude I’m in a car club with, Adam, once blew my mind with an off-hand comment: “I like wrenching on my cars more than driving them.” He had good stuff, too (a BMW and two Porsches). Part of me had always felt that way as well. But for some reason, it seemed heretical to admit it. His remark felt like validation. I do love a good tinker, which is part of why I’ve been savoring a silly bumper swap.
I bought this 1998 Mitsubishi Montero in Southern California a few years ago, after a nasty crash left me with only one working hand (temporarily) and I needed to buy a car with an automatic transmission. Since then, it’s become one of my favorite vehicles ever. I’ve been using it for adventures and turning it into a classic example of an old-school overlander, with a careful application of curated accessories.

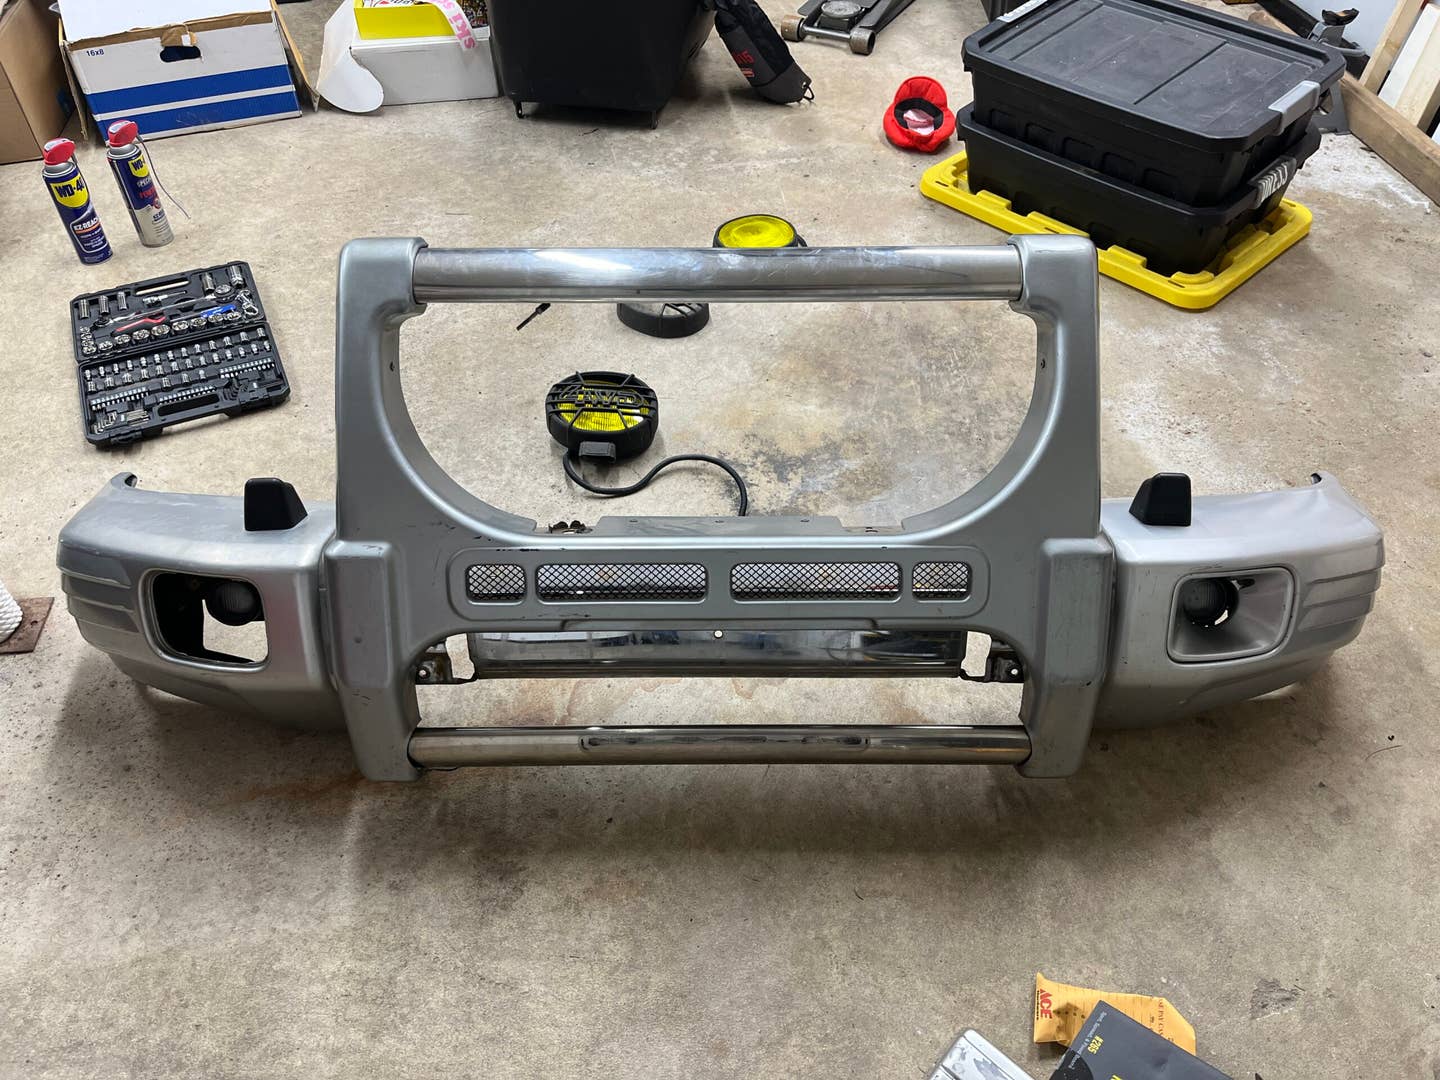
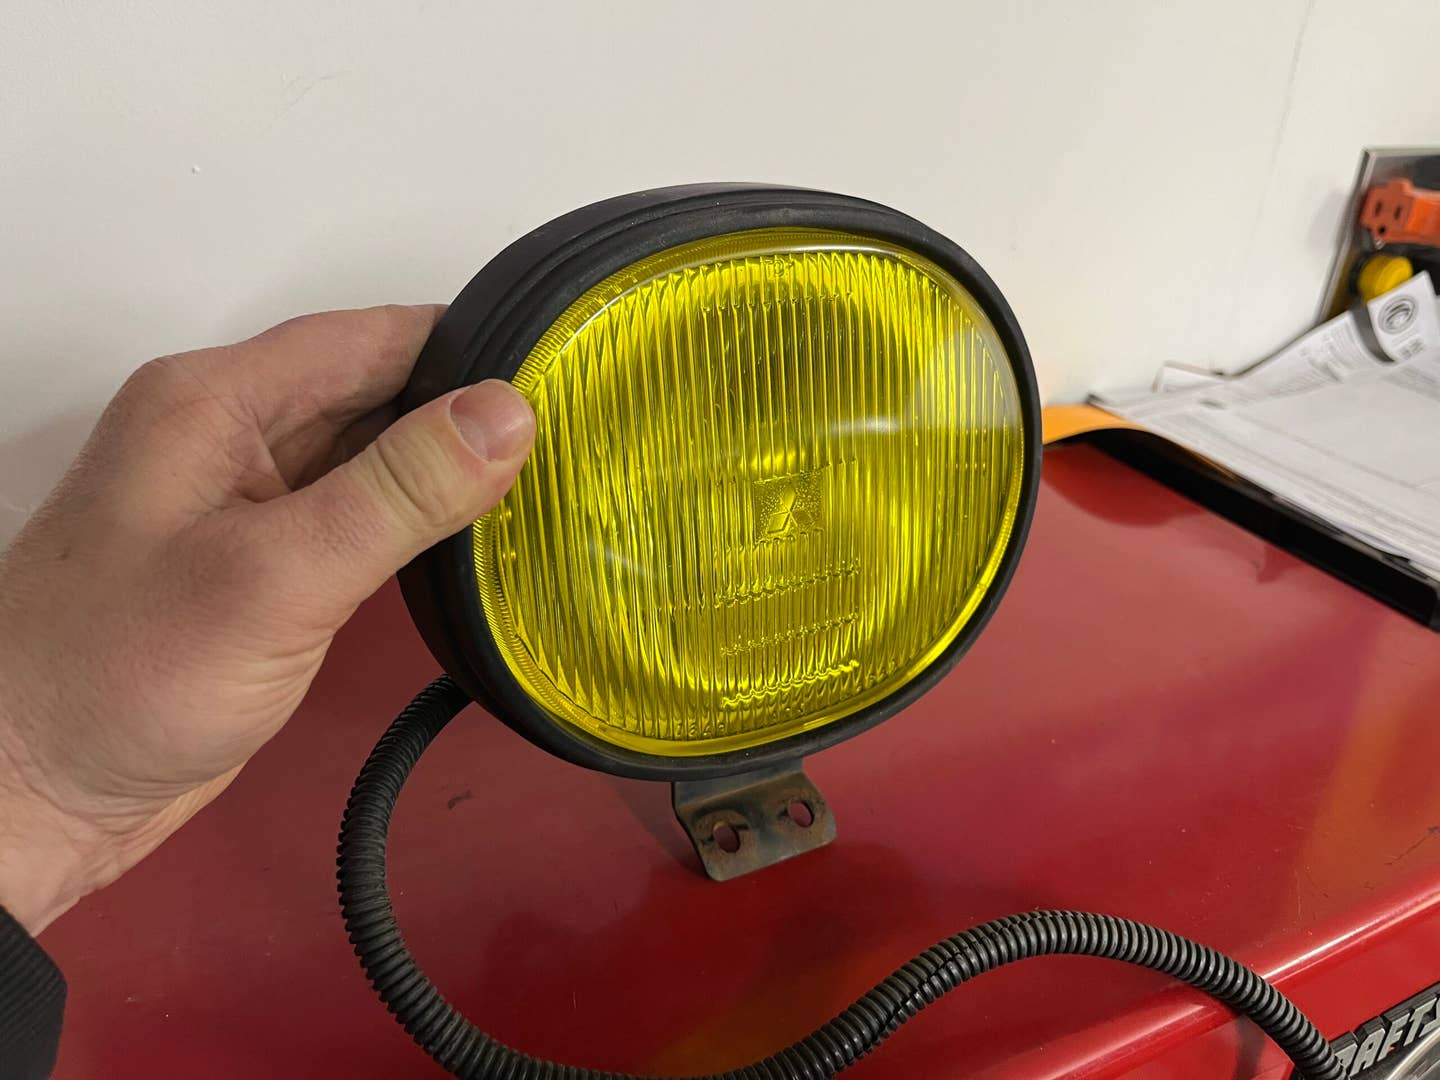
This cool JDM brush guard has been languishing in my car parts collection for over a year. I acquired it from a fellow Montero enthusiast, along with two period-correct (huge) fog lights and control switches—all OEM Mitsubishi parts. They were (and are) meant to be the last significant addition to my ’98 Monty before I stamp the project “complete” and pivot entirely to maintenance. It feels exciting, but I’ve been procrastinating it for so long because I wasn’t sure where to start.
The brush guard only has four mounting points, and it seemed obvious where those lined up on my truck’s bumper. But it was equally obvious that there are some differences between the U.S. Montero’s bumper and the JDM one’s, namely, my truck has two little protrusions that would block the brush guard from sitting flush where it needed to. After some research and studying quite a few images, I realized the only way to see if I’d be able to make the Japanese guard fit would be to take my truck’s bumper off and start test-fitting.
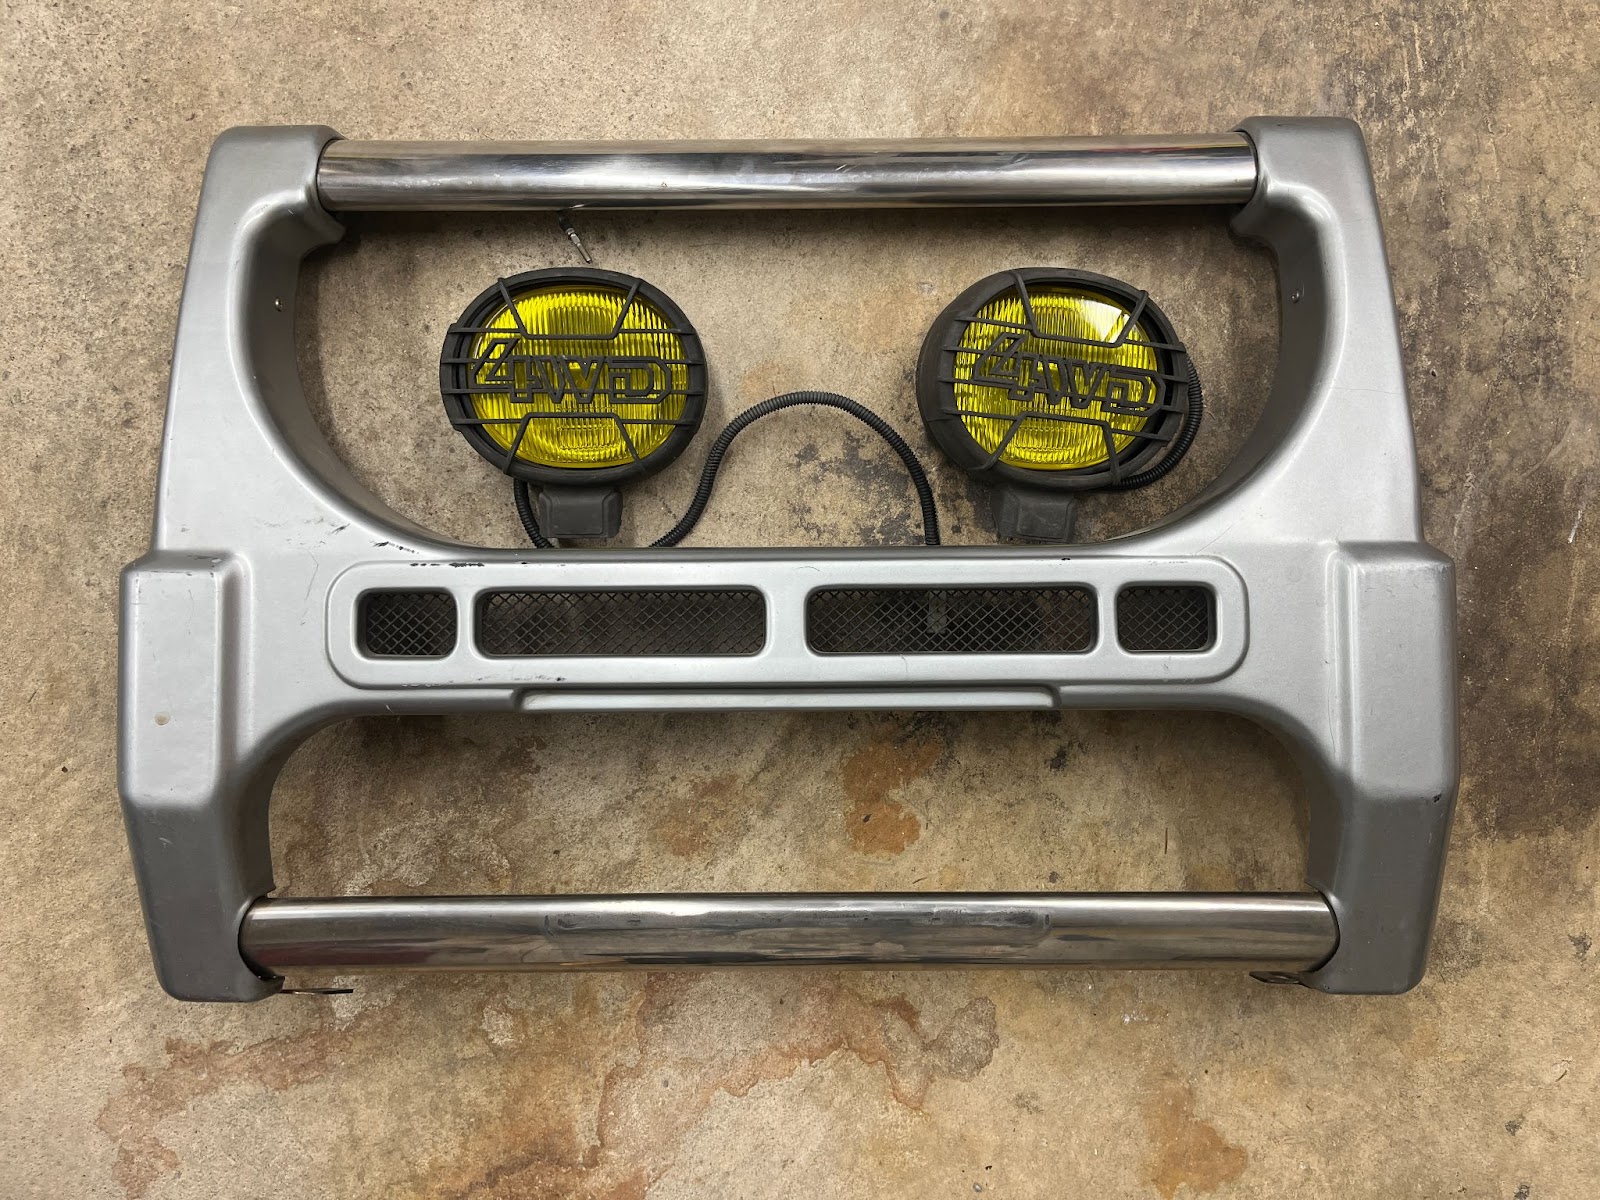
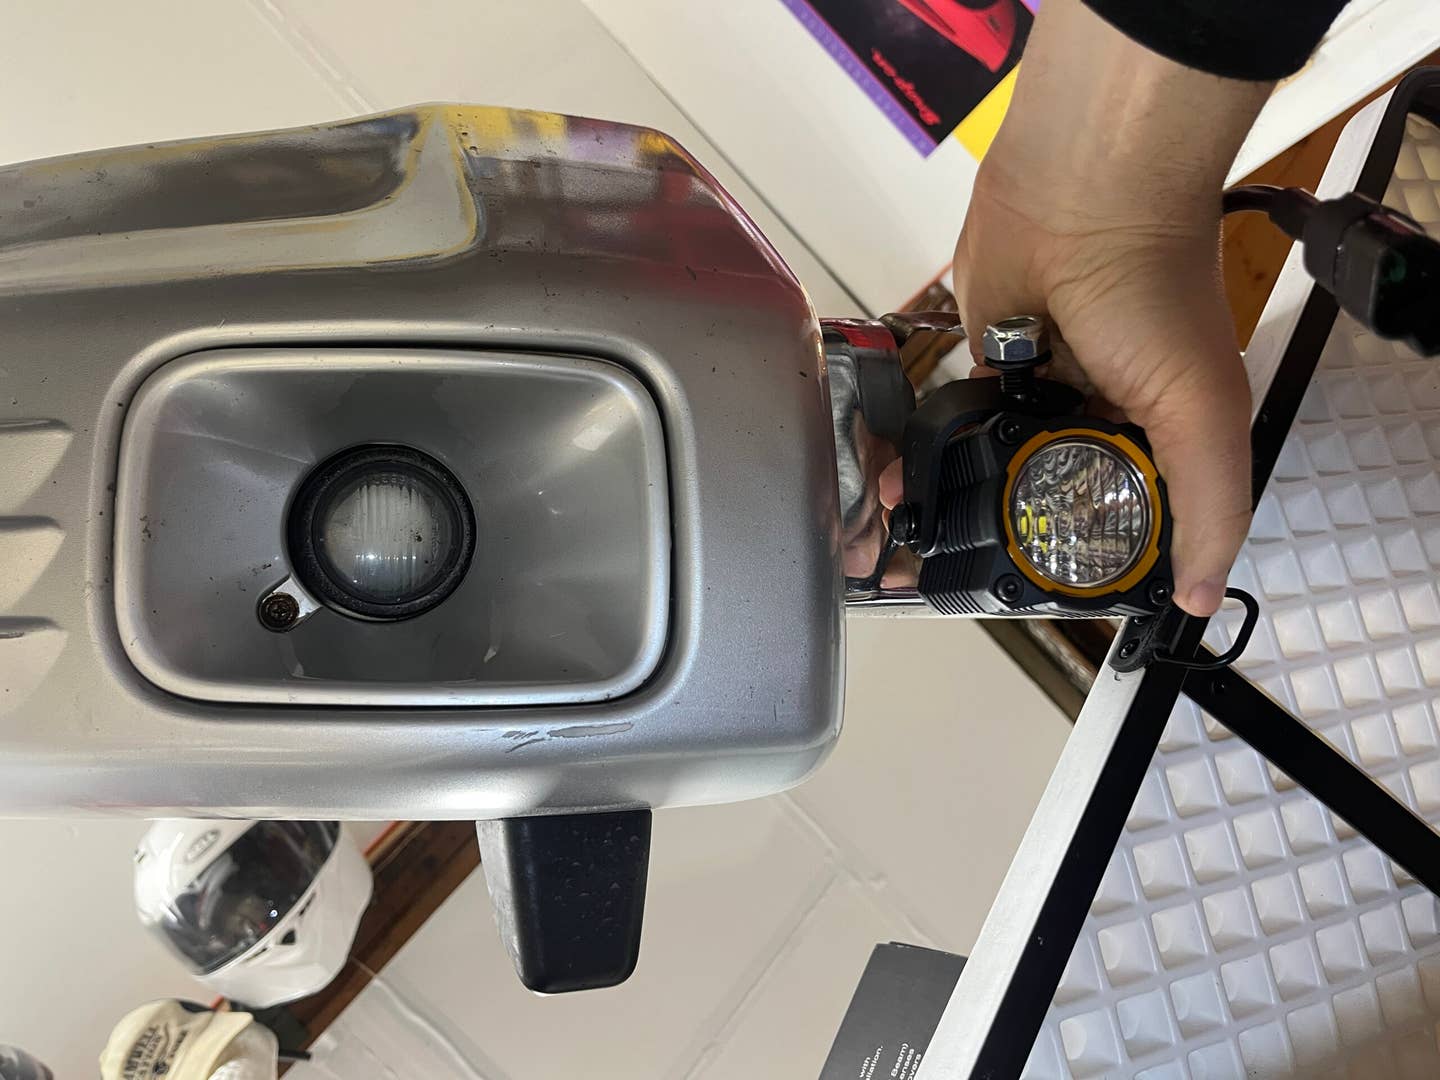
Since the brush guard is a factory piece, I had thought it would bolt up easily to existing mounting spots. I also have a pair of KC Flex Era lights that I’ve been looking for a home for … and the lenses look exactly the same as the Montero’s factory fogs in the corners of the bumper.
My quest was to pull the Montero’s front bumper, find the mounting points for the brush guard, and replace the small factory fog lights with KCs, and mount the big fog lights on the new bumper piece. Then I’d put it all back together and have some super-tight JDM styling, yo. Plus better nighttime visibility.
Tools

- WD-40 Specialist® Penetrant with EZ-REACH®
- Eye protection
- Socket set
- Folding table
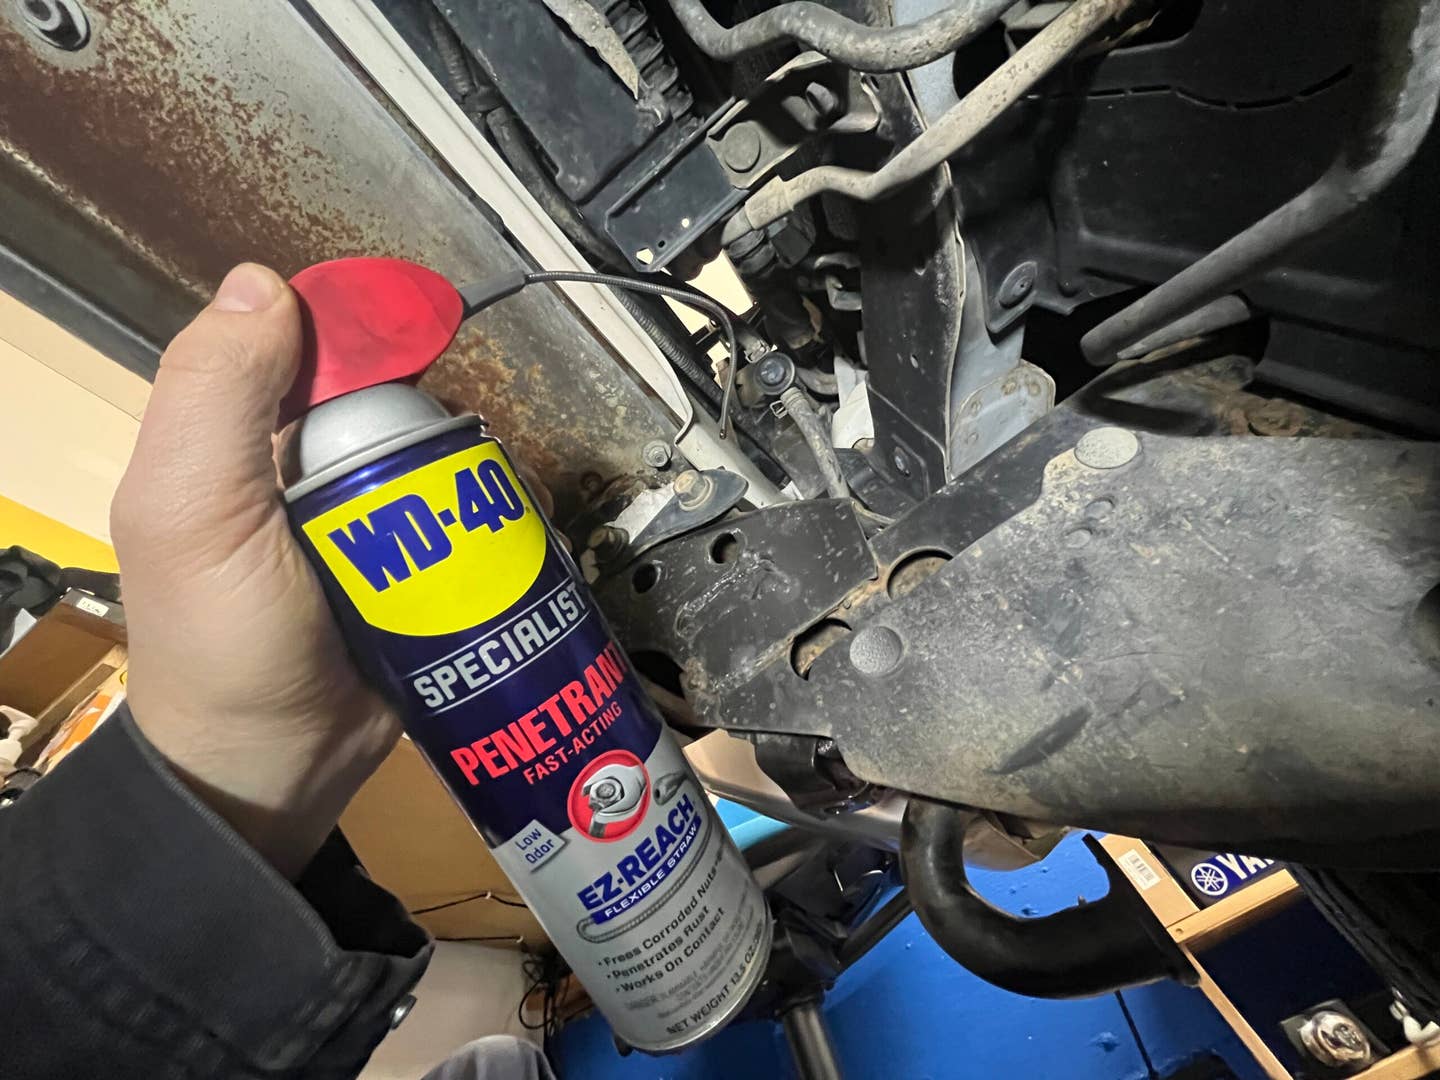
Even though this Montero spent much of its life in California, the bolts up front have been exposed to a lot of mud and moisture over the years. That means rust. And rusted bolts, even ones with accessible heads, like to be a pain to break loose. That’s why penetrating fluid is one of my most-used tools and WD-40® Brand is a great sponsor to have—its Specialist Penetrant product is one of my favorites and I do buy the stuff on my own even when I’m not getting paid to test it.
Penetrating fluid is different from the WD-40® Multi-Use Product in that it’s designed specifically to seep into rust and break the bonds it makes between metals. The regular ol’ Original WD-40 Formula does this to a degree, but when you’ve got real rust on a bolt (especially one you don’t want to put a torch on) you need to apply a dedicated chemical before you start swinging wrenches.
If you make no attempt to break the rust bond, you run the risk of breaking the bolt’s head off or simply not being able to move it at all.
There are a lot of great penetrating fluids out there but there are a few reasons I’m always restocking WD-40 Specialist Penetrant in my shop: It doesn’t smell bad, it’s readily available at both automotive and hardware stores (and of course online), but most importantly it’s got that sweet sweet bendy-straw which the WD-40 Brand calls “EZ-REACH.”
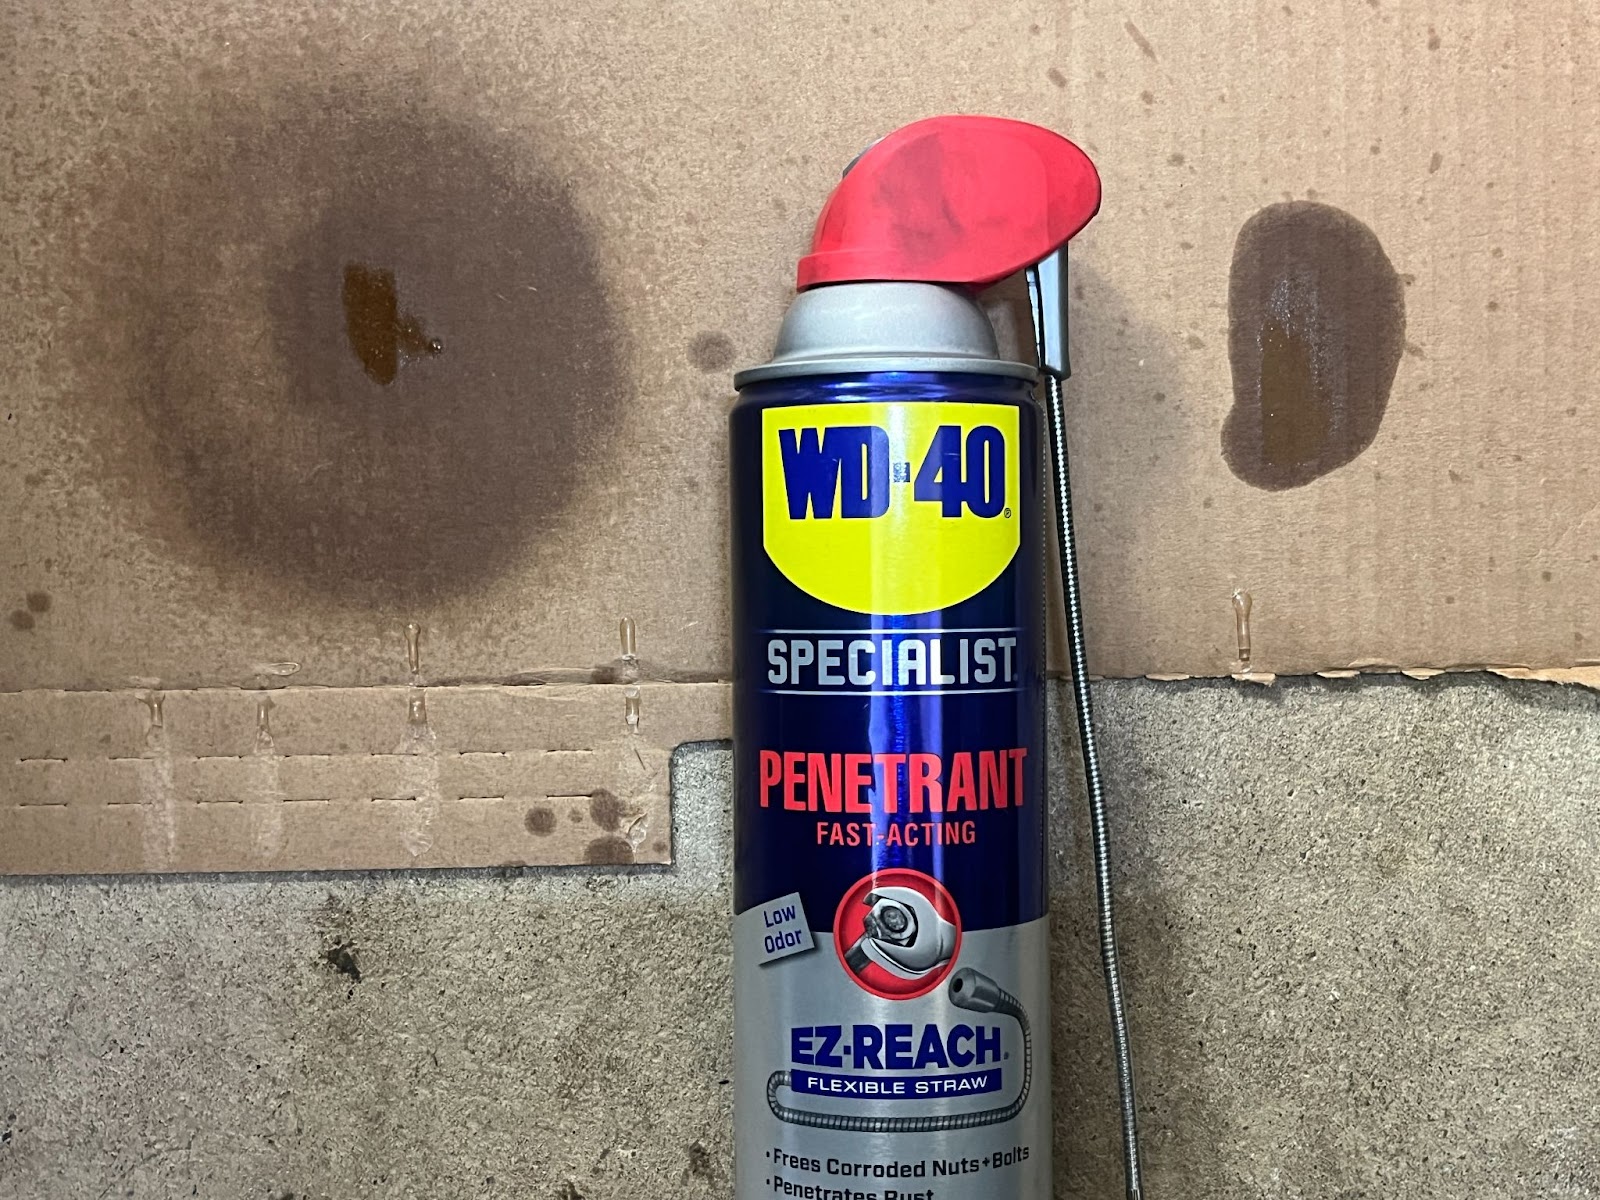
Car bolts are almost always in annoying spots. Being able to twist a shape-retaining squirt straw into small spaces and around obstacles is a score for sure. Even when rusty bolts are accessible, I like the precision I can get with this applicator. Both benefits got a lot of use as I yanked the bumper off of my truck. I do not miss the days of those stupid little red plastic squirt straws that would always get lost or fly off into oblivion in the middle of a project.
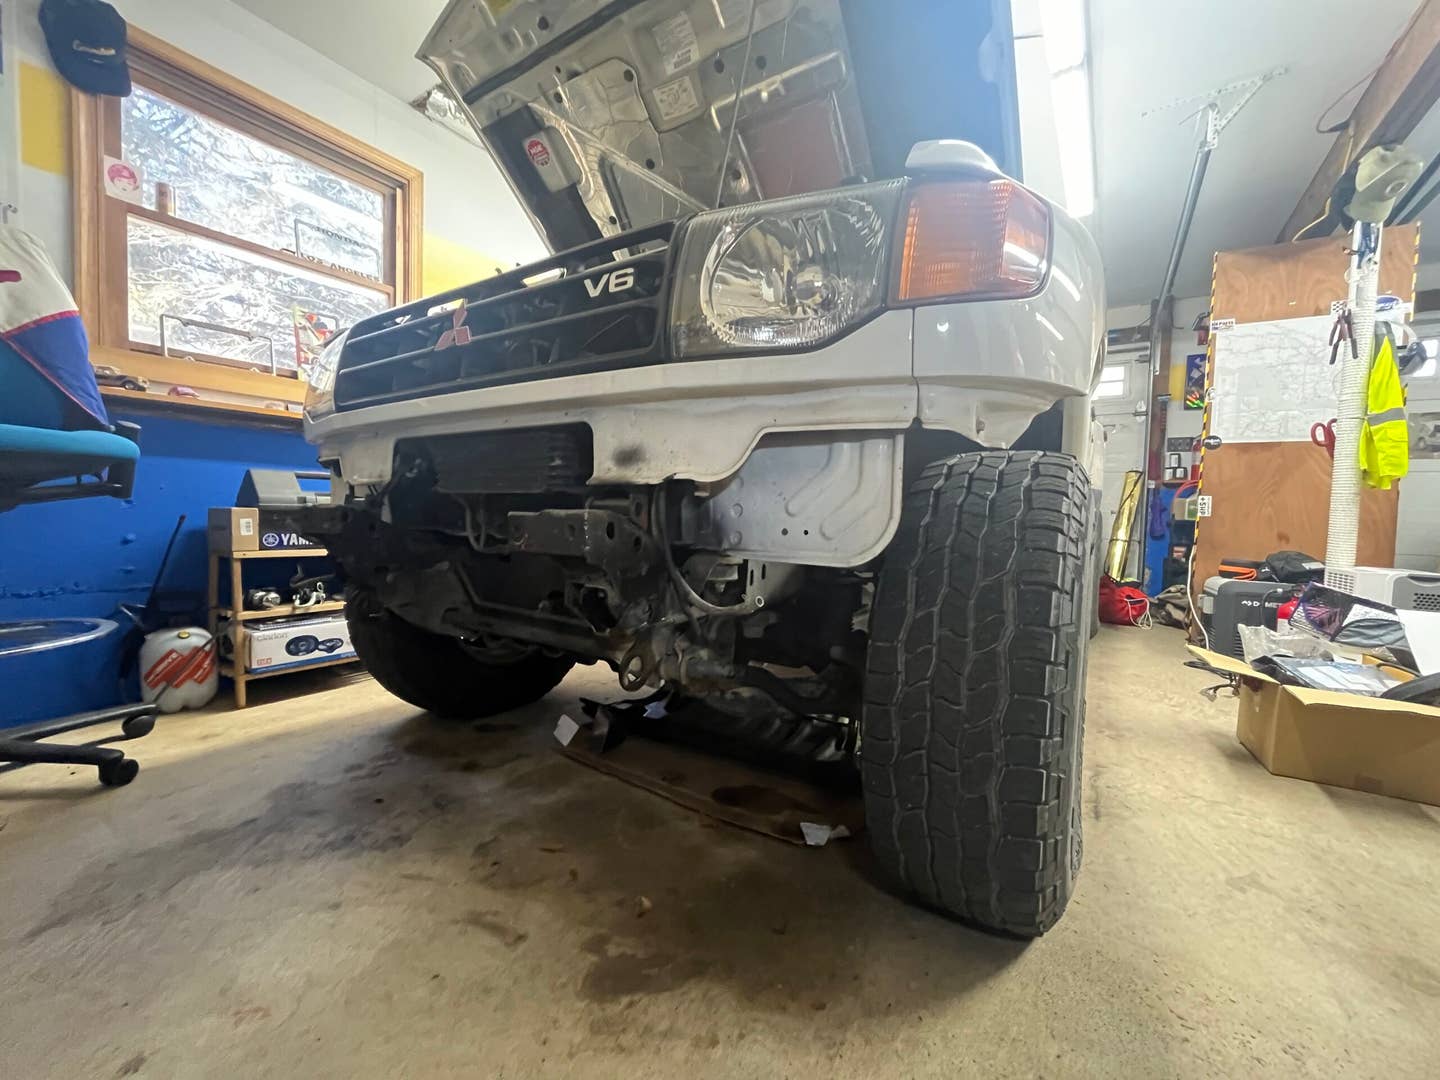
Pulling the Truck’s Face Off
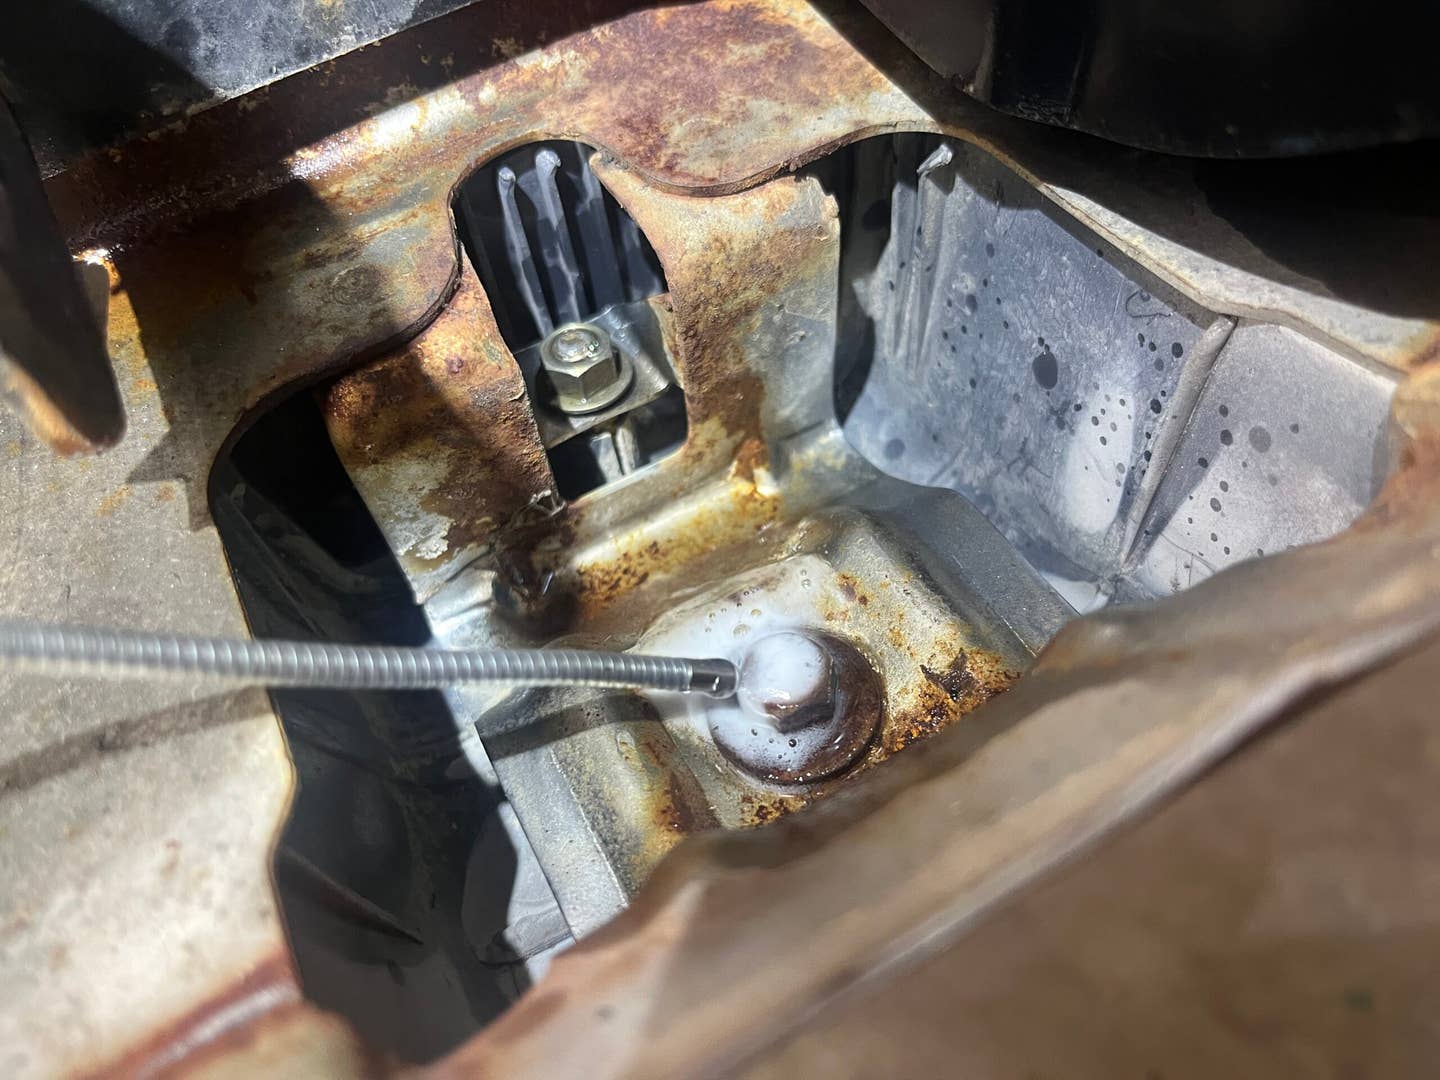
Days before I even started messing with the Montero, I hit every bolt I could reach with a few squirts of penetrant. I know, I know, “sounds like something a penetrant salesman would say.” But trust me—the longer the stuff has to work, the more effective it is. And an effective penetrant can make the difference between a bolt that comes off easily and one that sheers, turning a casual project into a horrible re-threading job. When it comes to penetrating fluid: Apply early, apply often.
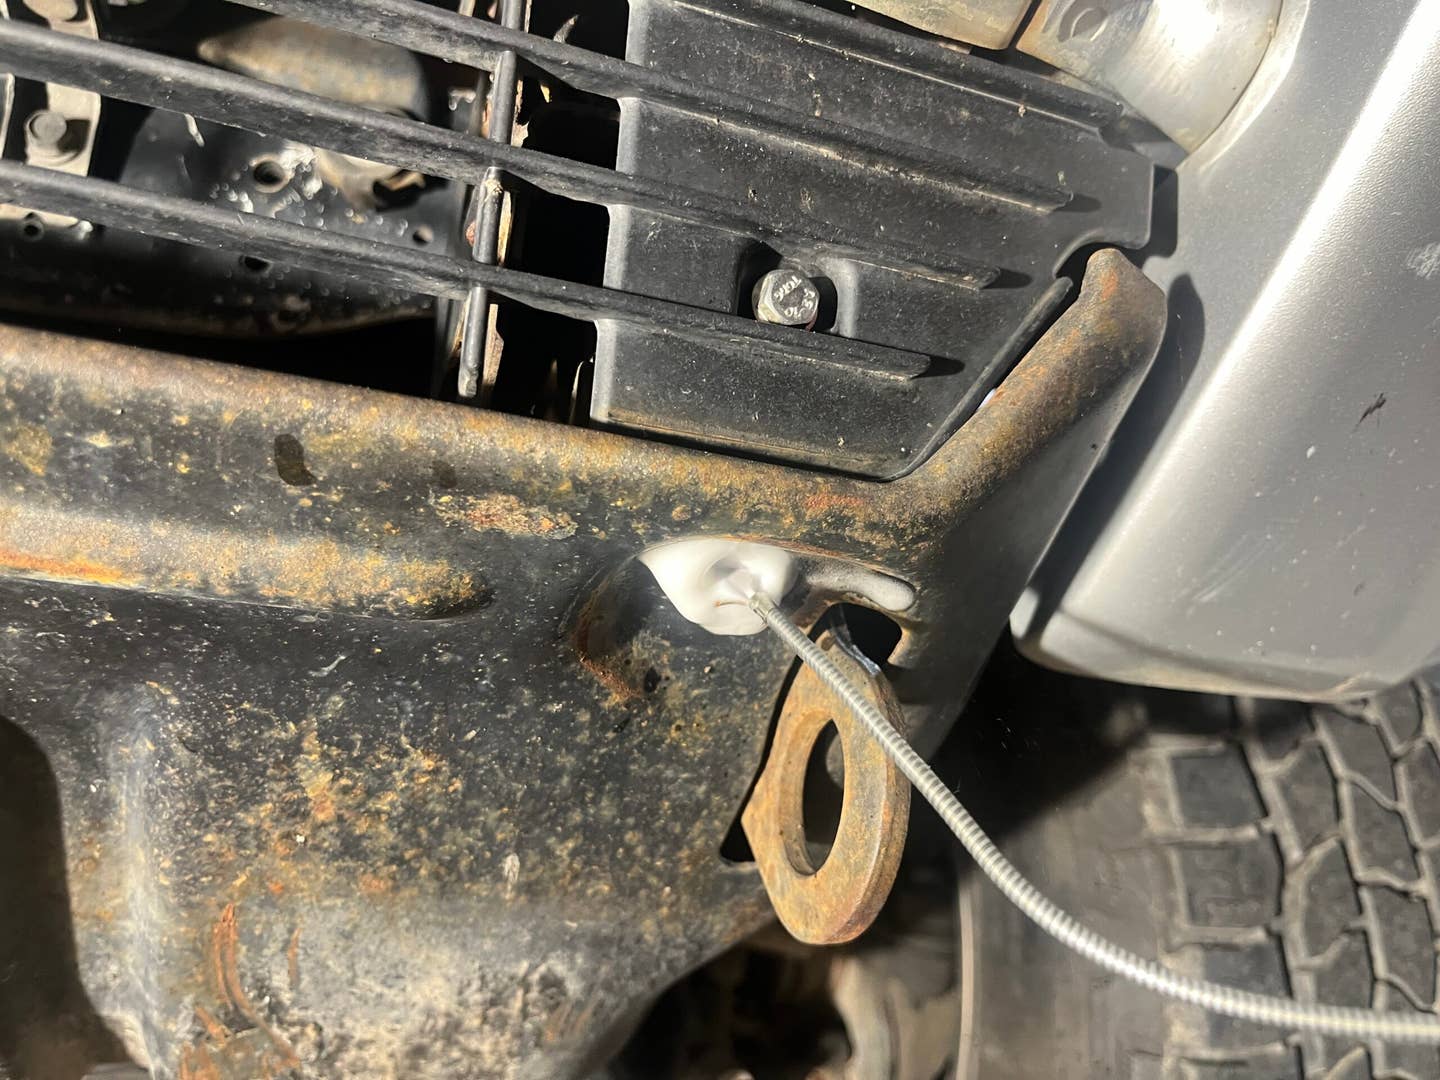
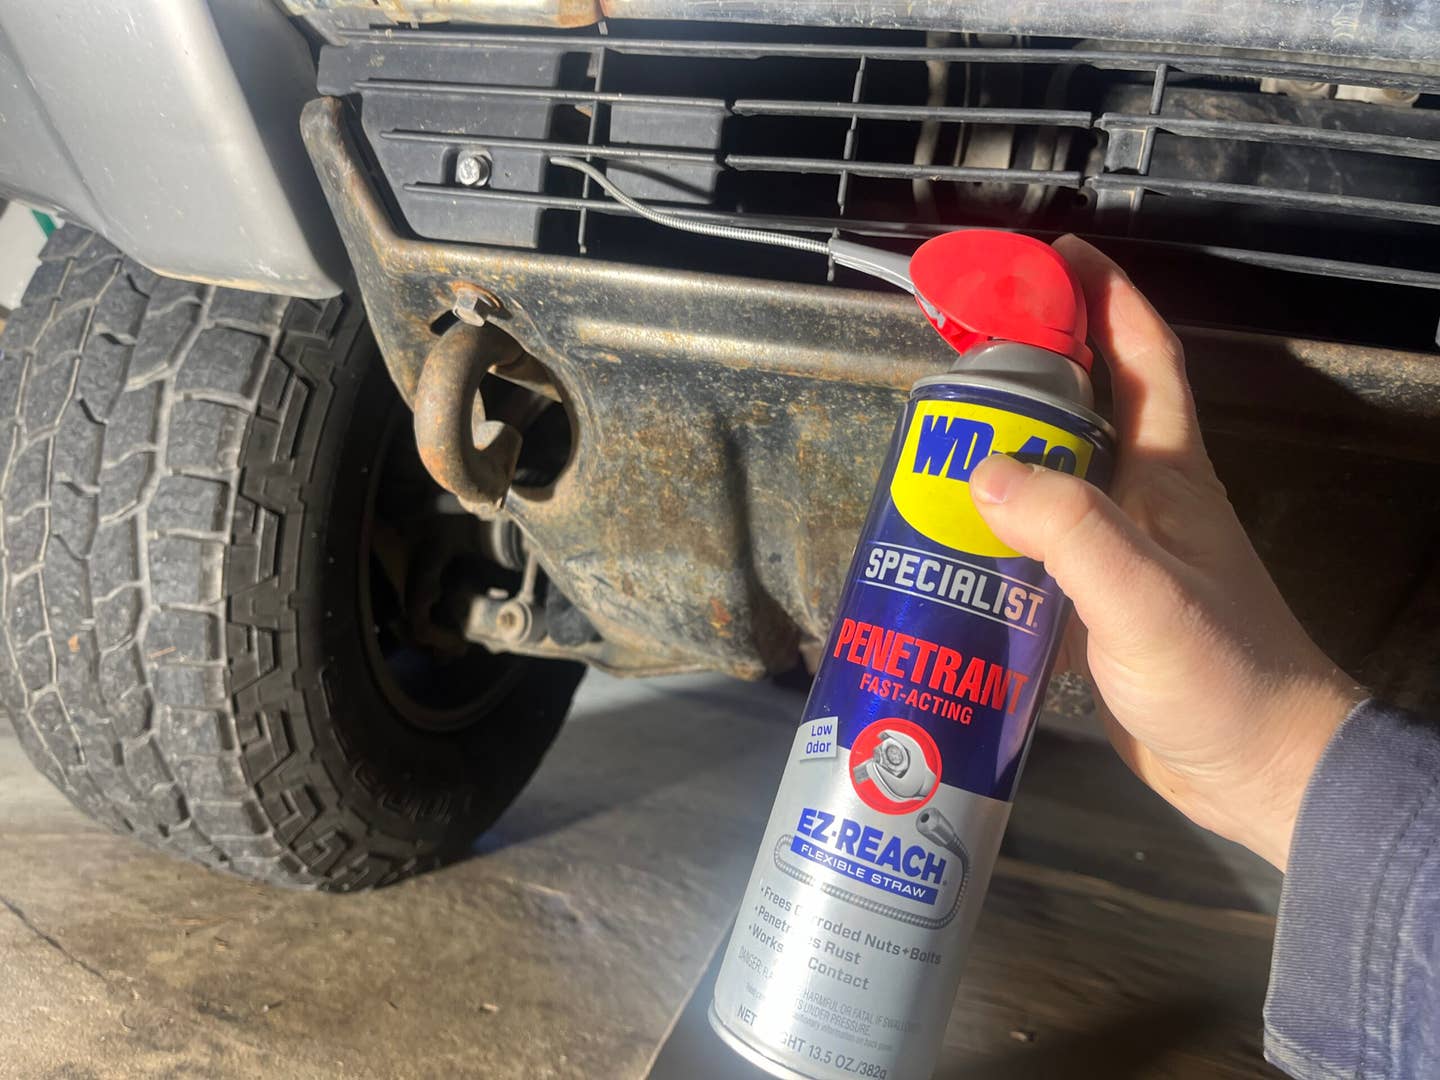
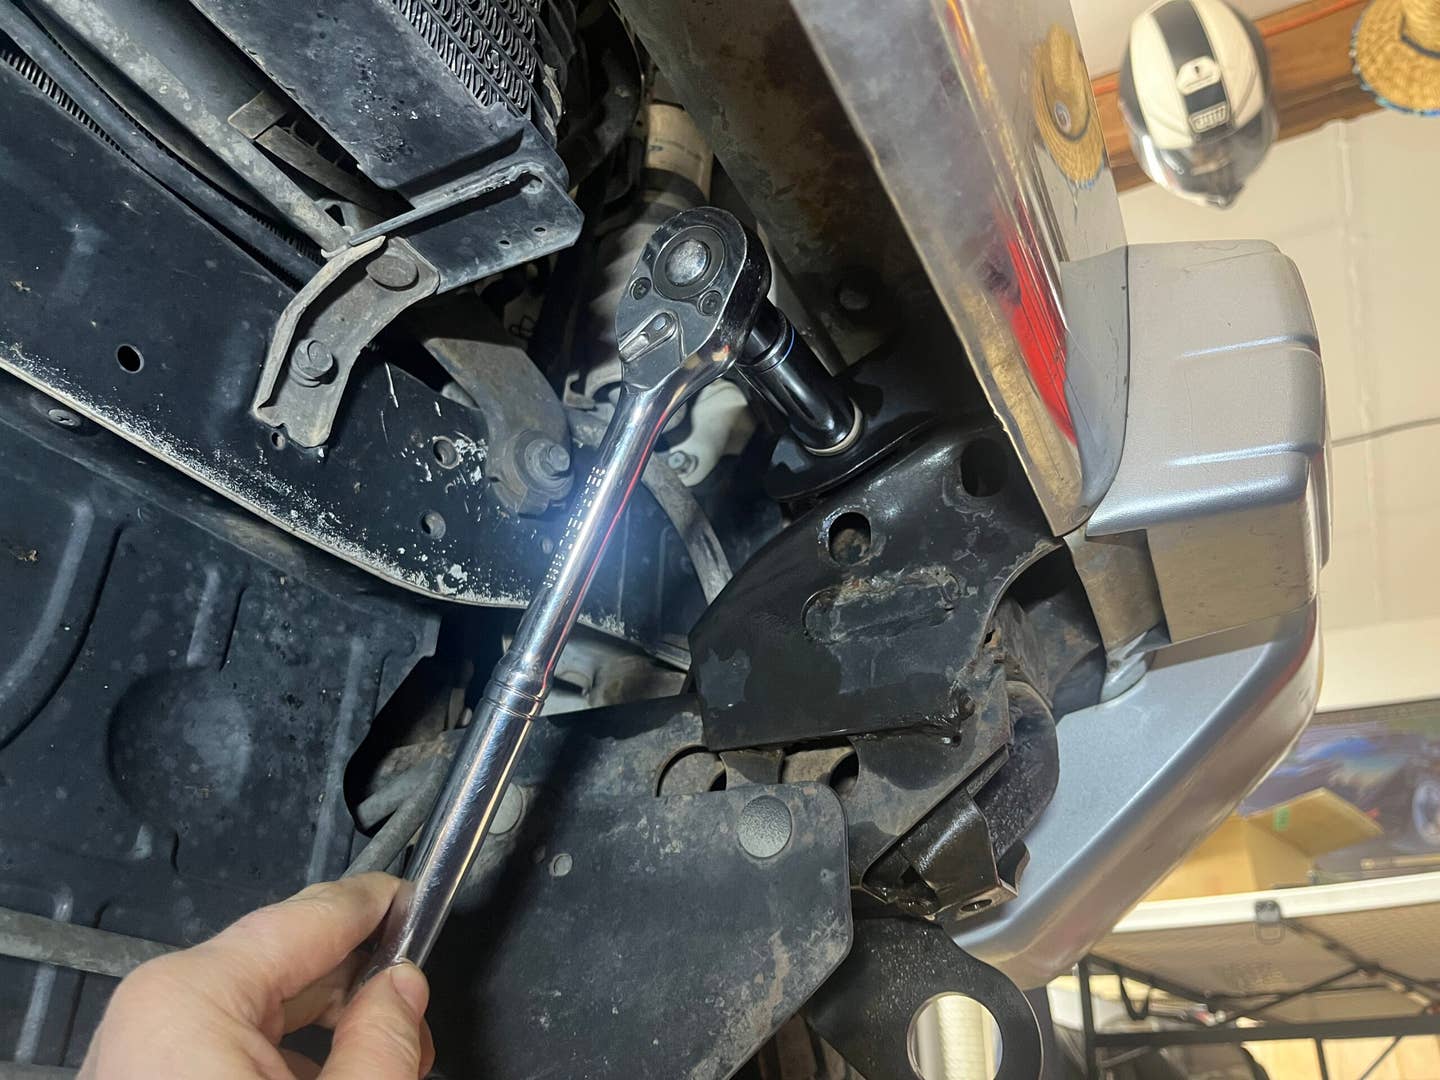
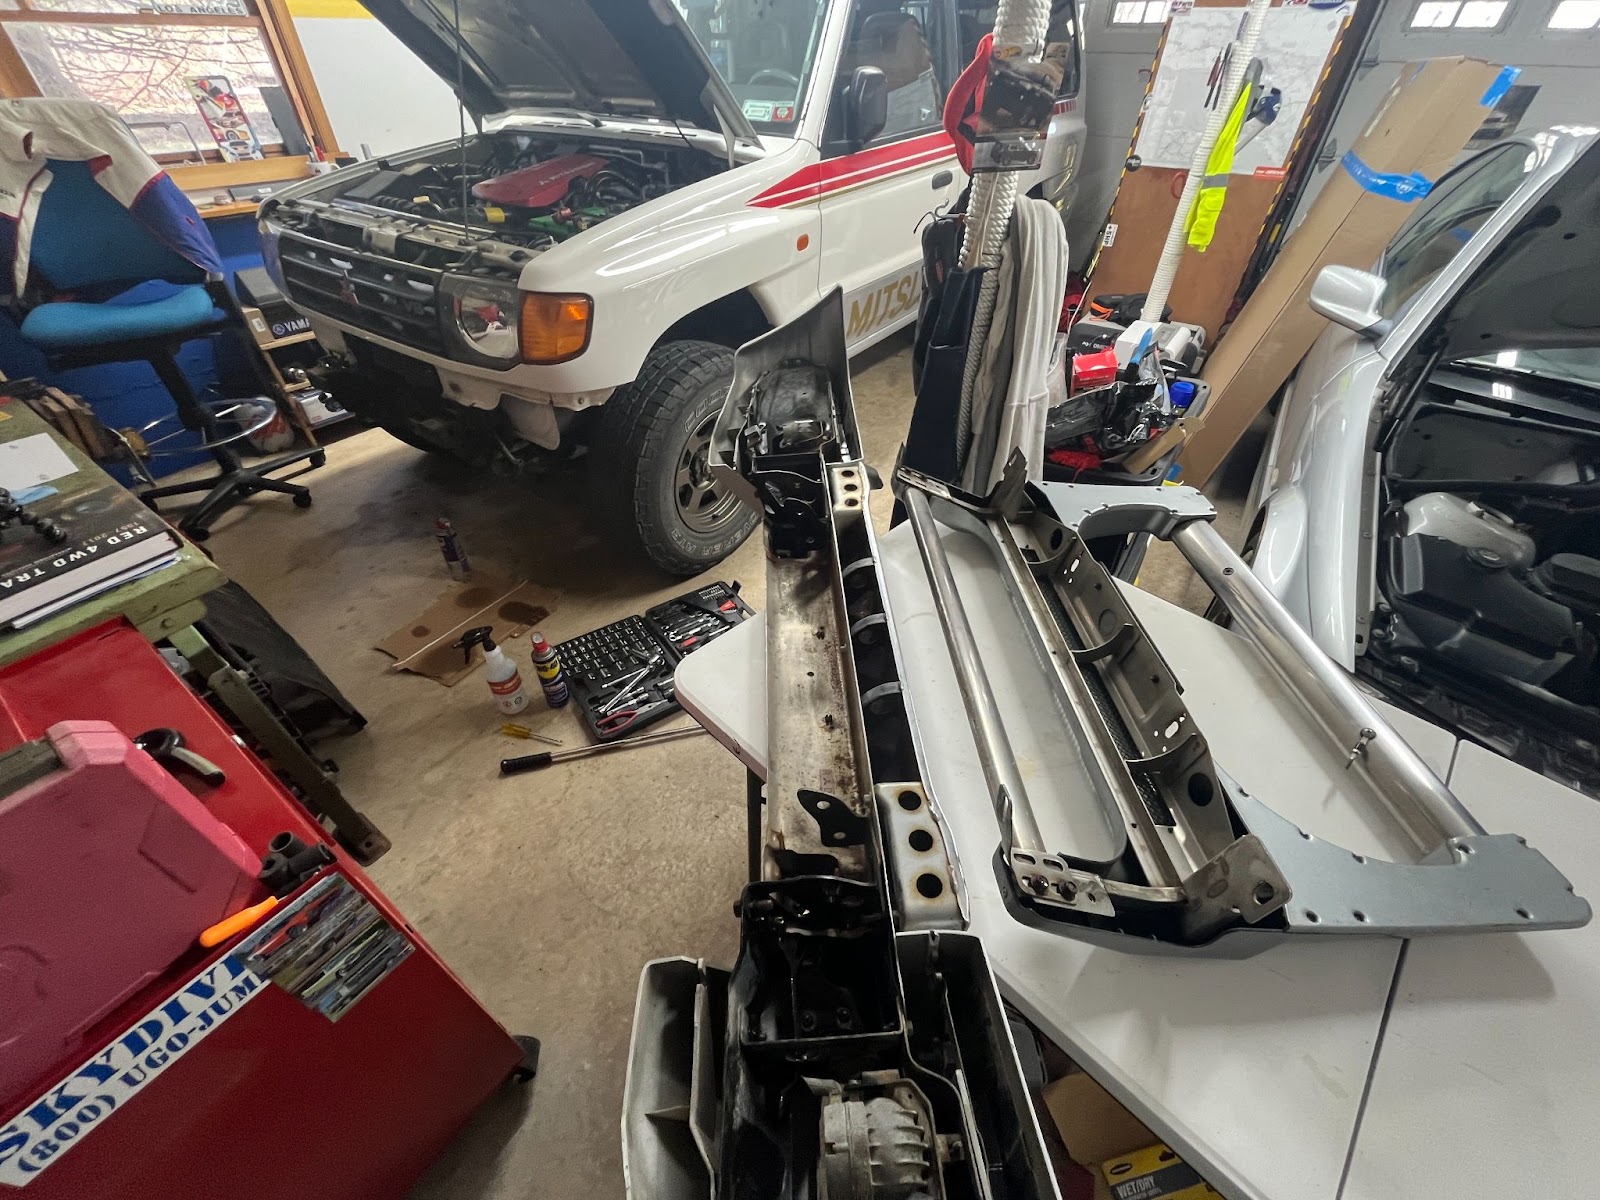
Luckily for me, removing a ’98 Montero’s front bumper is almost comically easy compared to the process on a newer car. All I had to do was disconnect the headlight washers (hose clamps and a little yank on some rubber tubing) disconnect the factory fog lights (one screw to pull the bezel, then a simple clip), and then disconnect the skid plate. Those skid plate bolts were easy to reach but pretty crusty. They got an extra spritz of penetrant. From there, the bumper was resting on the frame and merely attached by four super-long horizontal bolts.
The thing was off in minutes. It took longer for me to move the bumper from the truck to my work table in my cramped garage than it did to actually unbolt. Even compared to other cars from that era, it was crazy easy to take the face off of this thing.
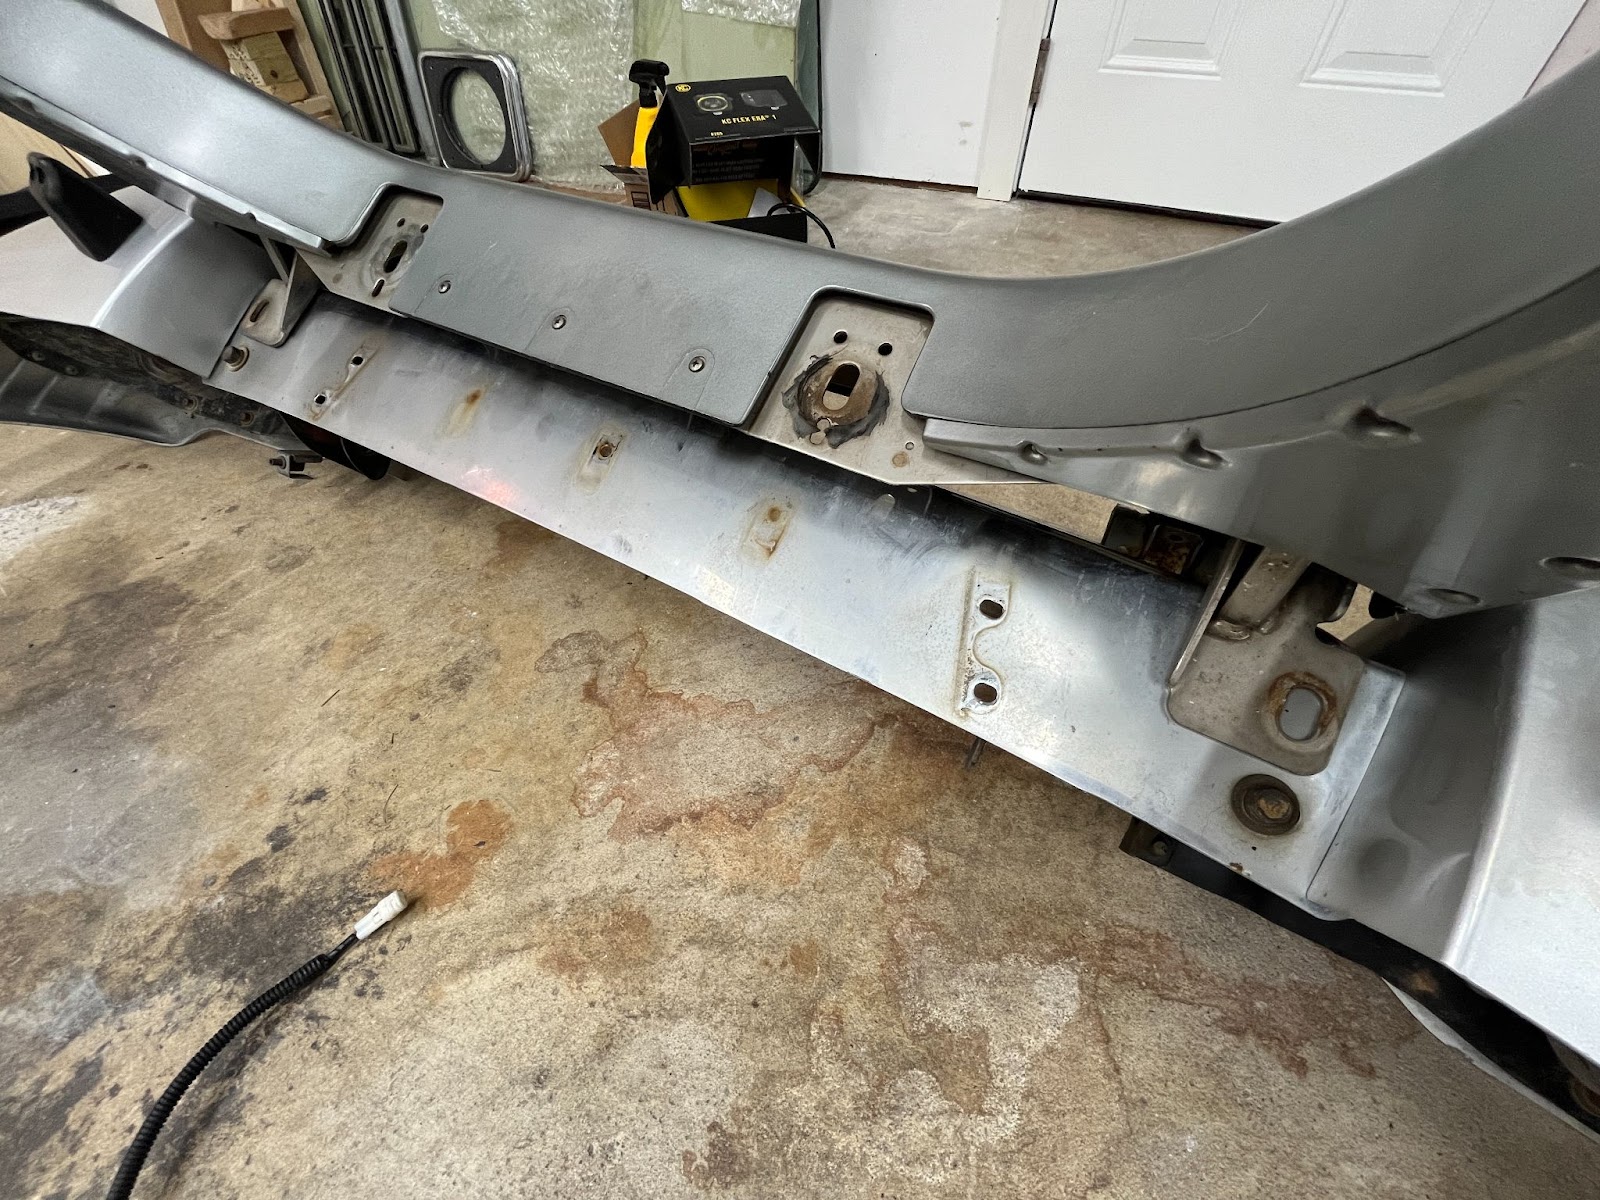
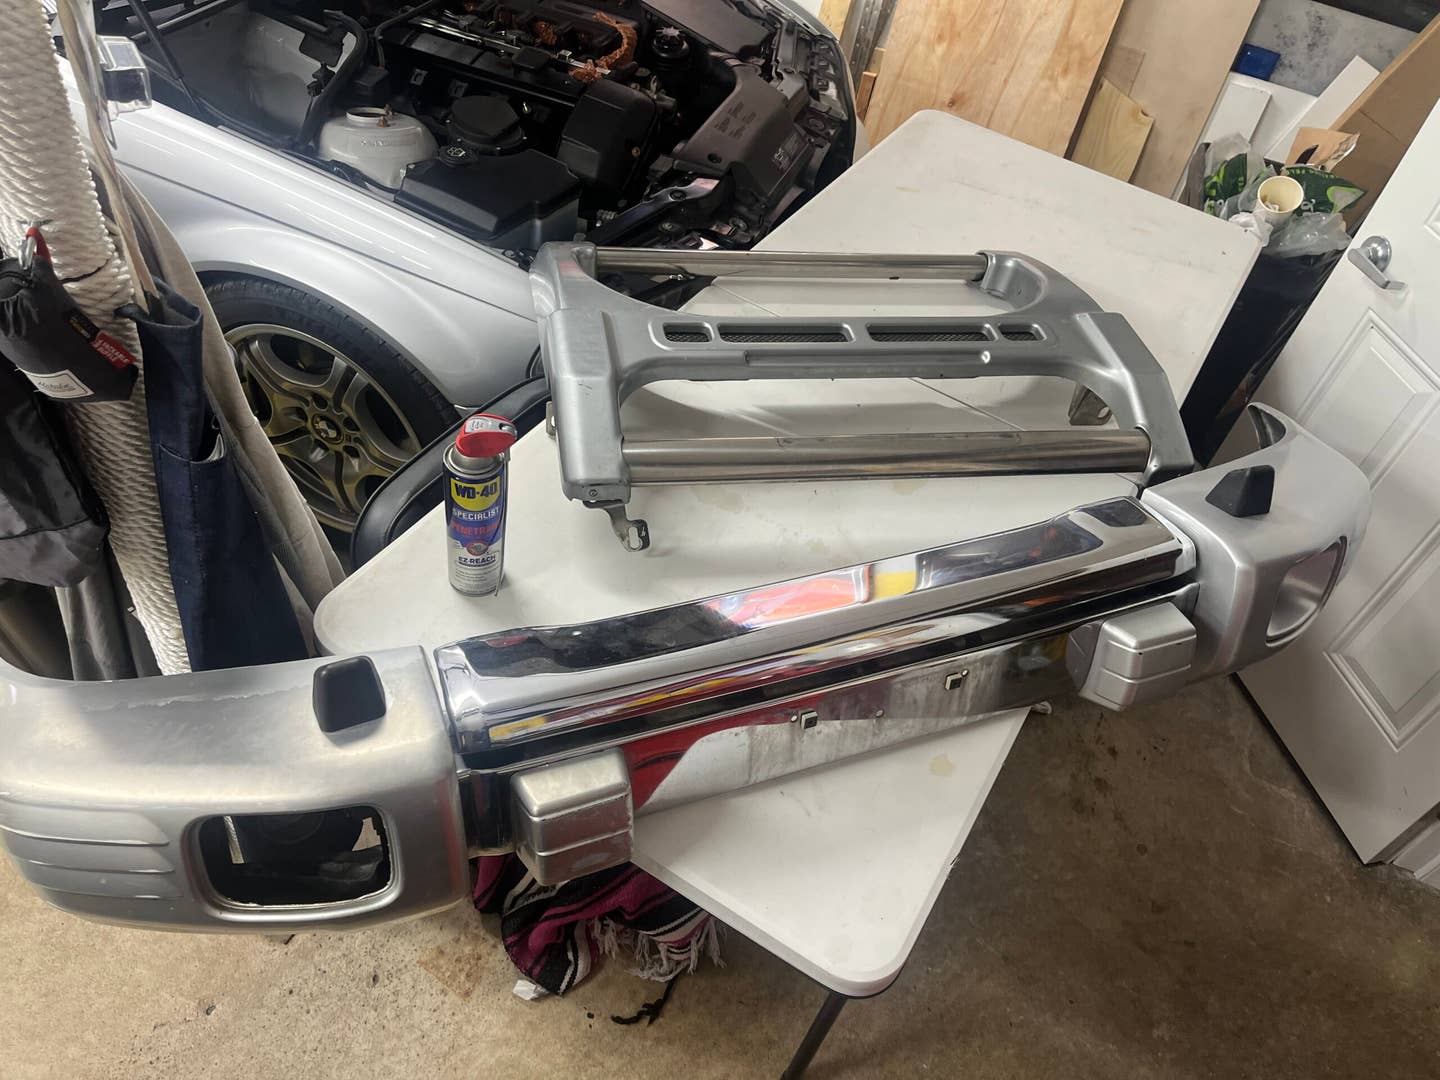
The Real Work Is Behind the Bumper
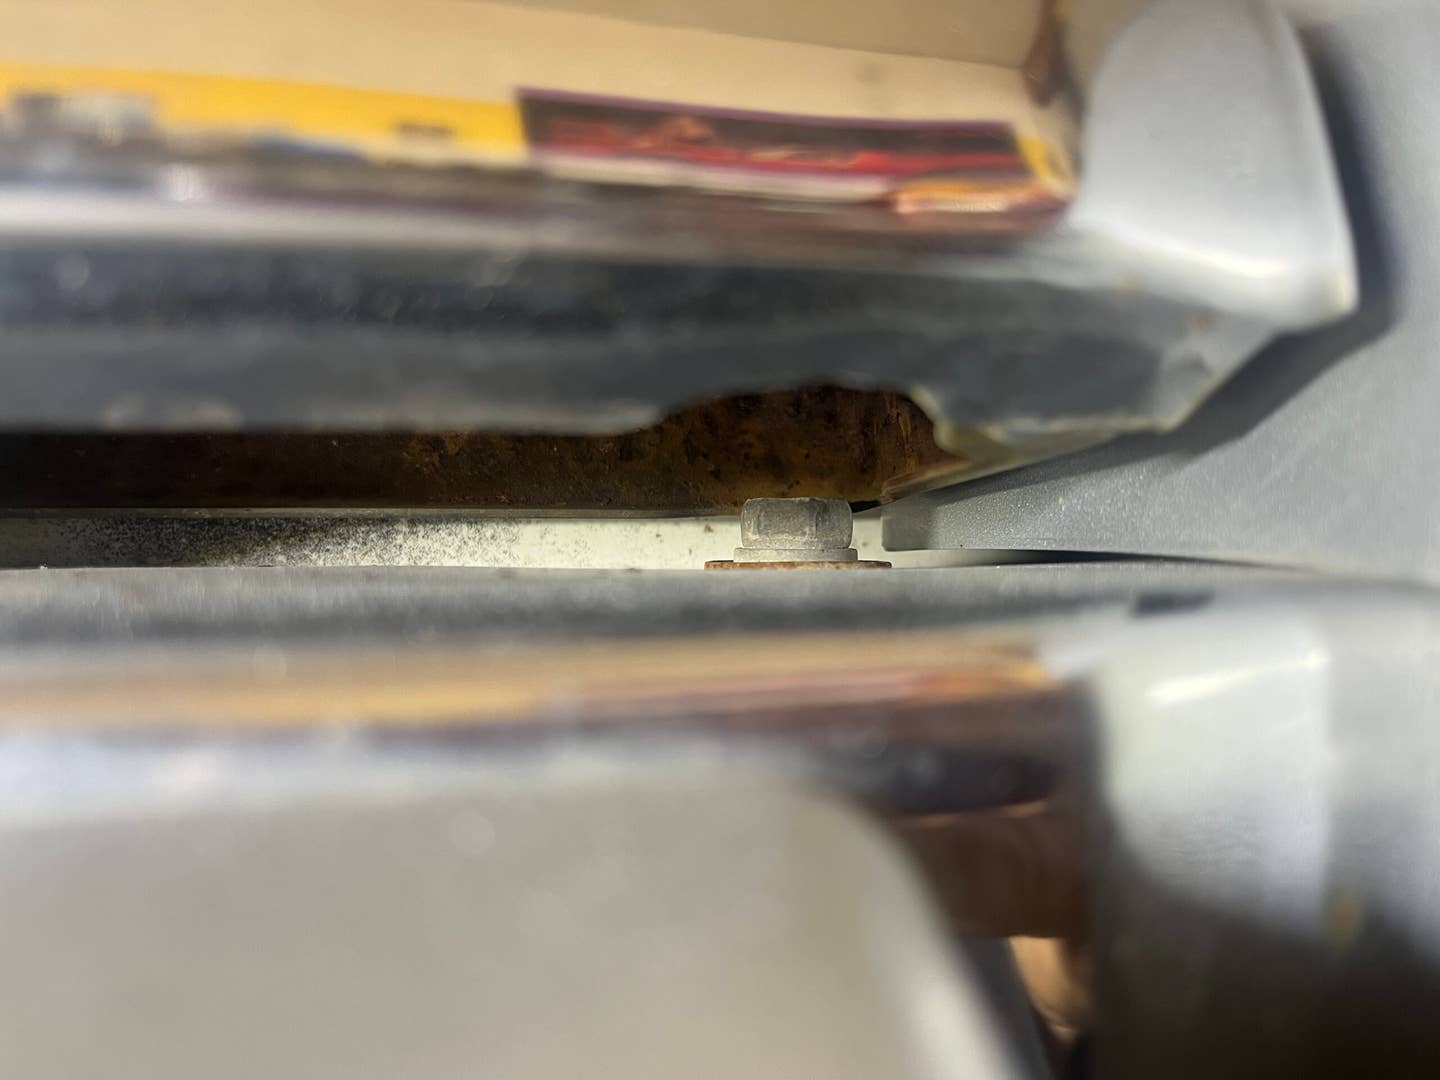
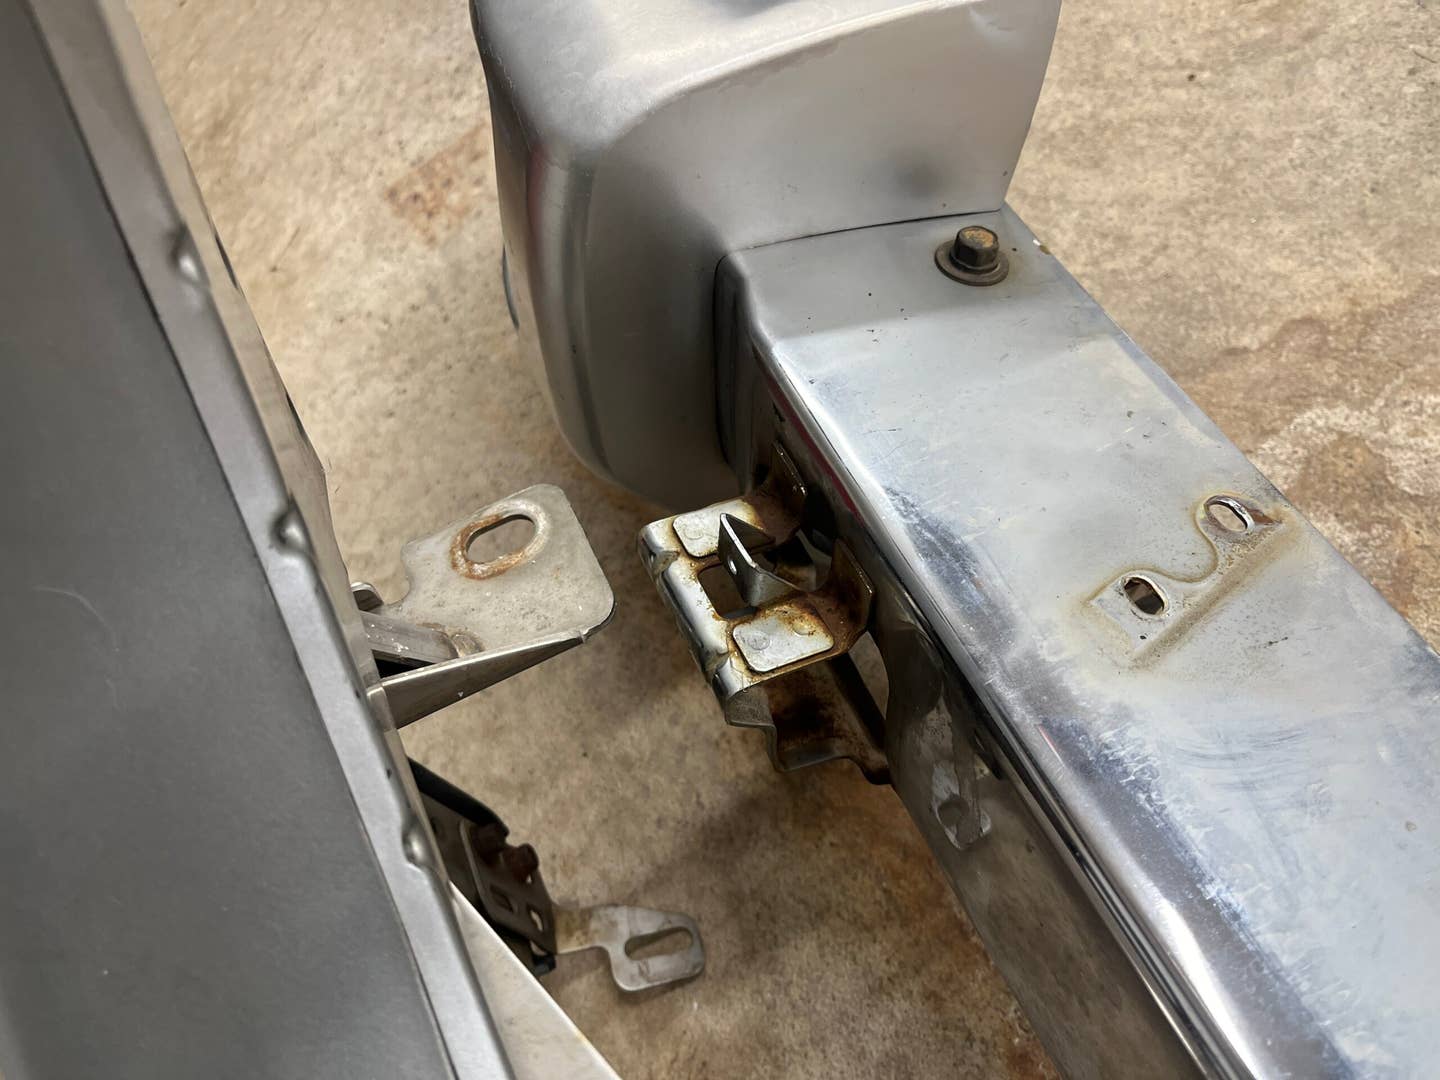
When I first acquired this brush guard, I actually thought I’d be able to bolt it up with the bumper still installed on the car. That’s how many such guards go on, after all. But I quickly realized that two of the connection spots are hidden under a piece of chrome which could only be removed from the back.
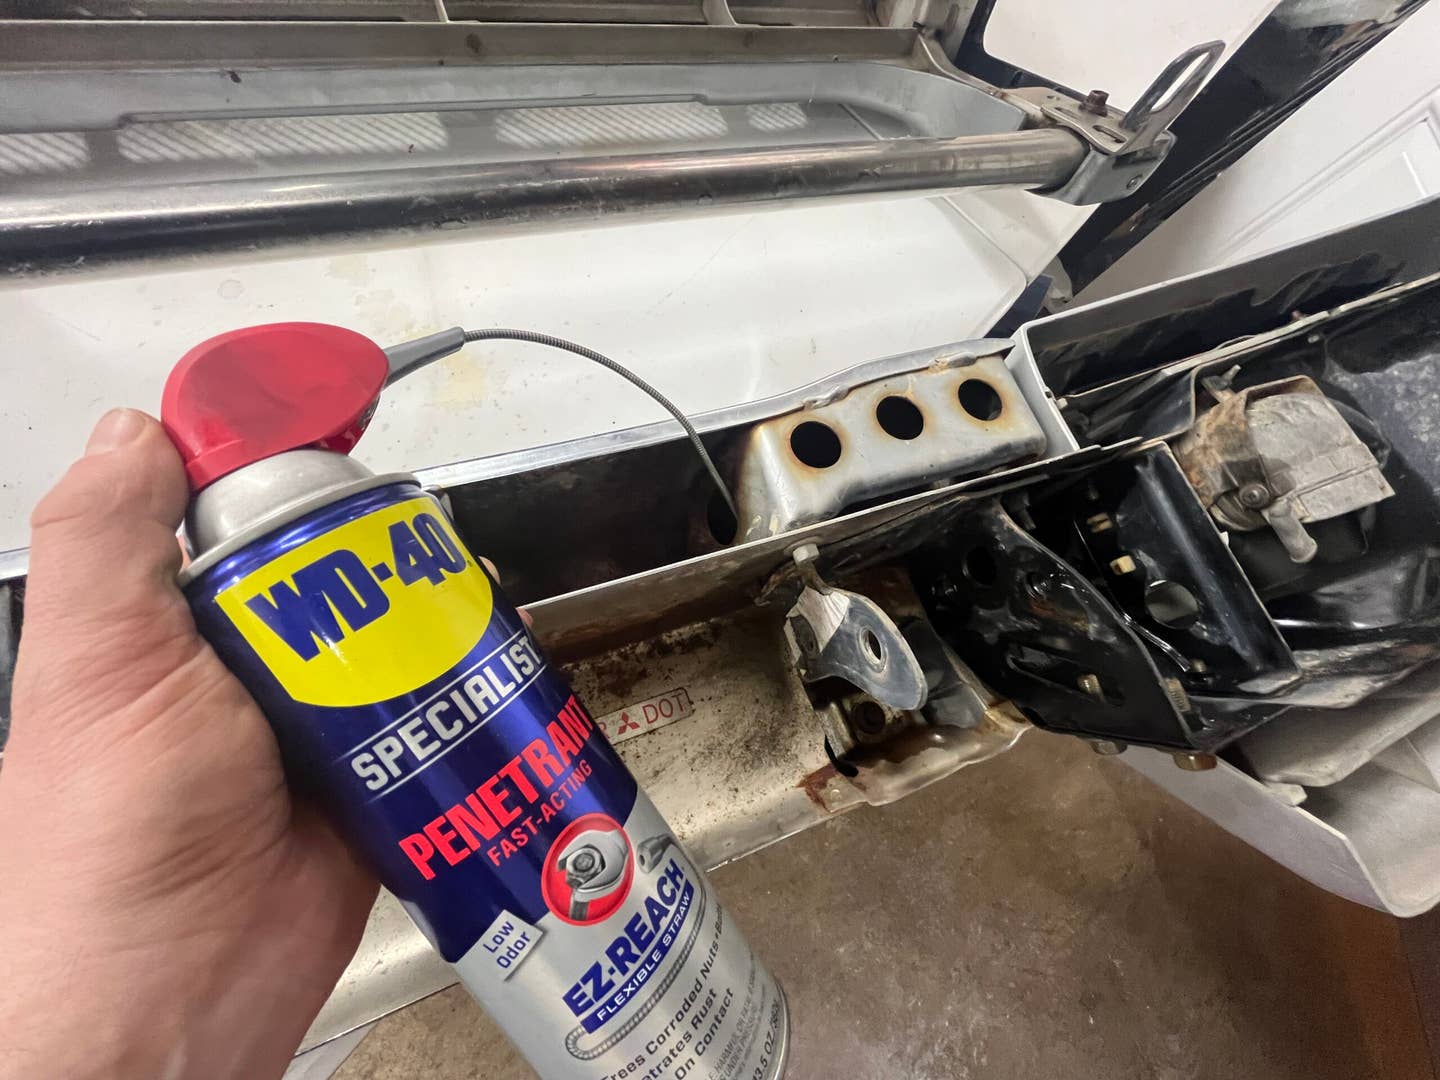
With the factory bumper on my workbench, I soaked a few more bolts with penetrant and started dismantling. Once again, the bolts were easy to see. But I could also tell that those bolts were comfortable where they sat—so each got a penetrant bath before I even bothered putting a socket on them. Only after this point did I start to get into complications
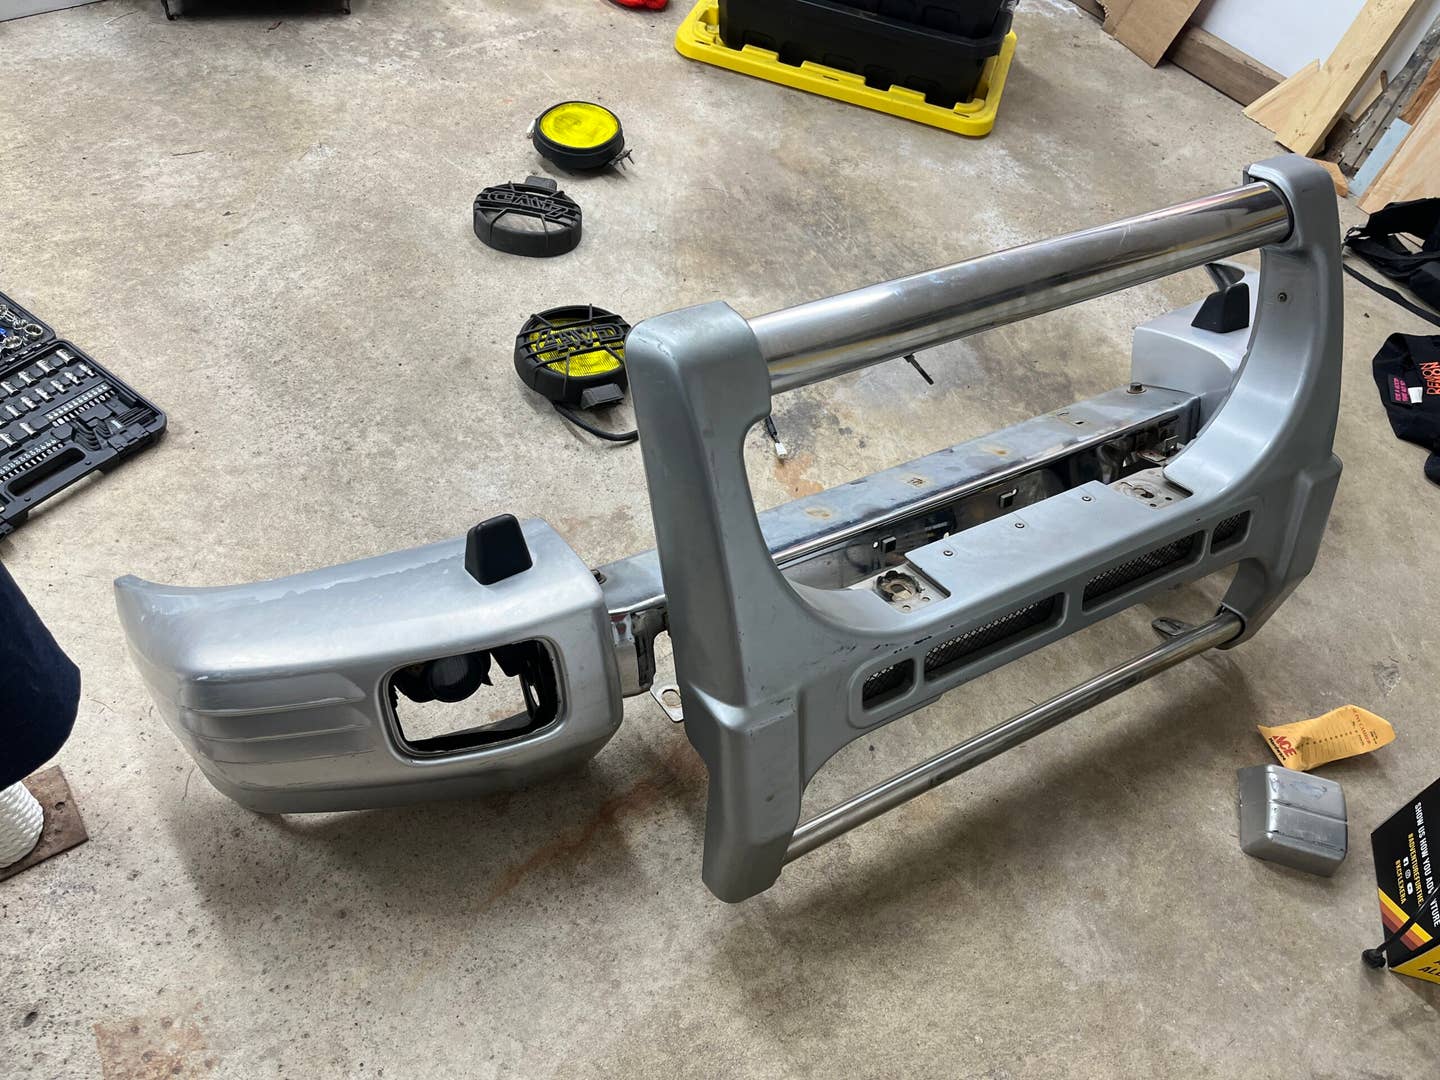
In every picture I could find of a Japanese Montero (or Pajero as they call it overseas) with this brush guard, it seemed to be mated to the same chrome main bumper I have. But clearly, it only looks the same from certain angles. The brush guard’s mounting points didn’t quite make it all the way to the bolts I thought they belonged to.
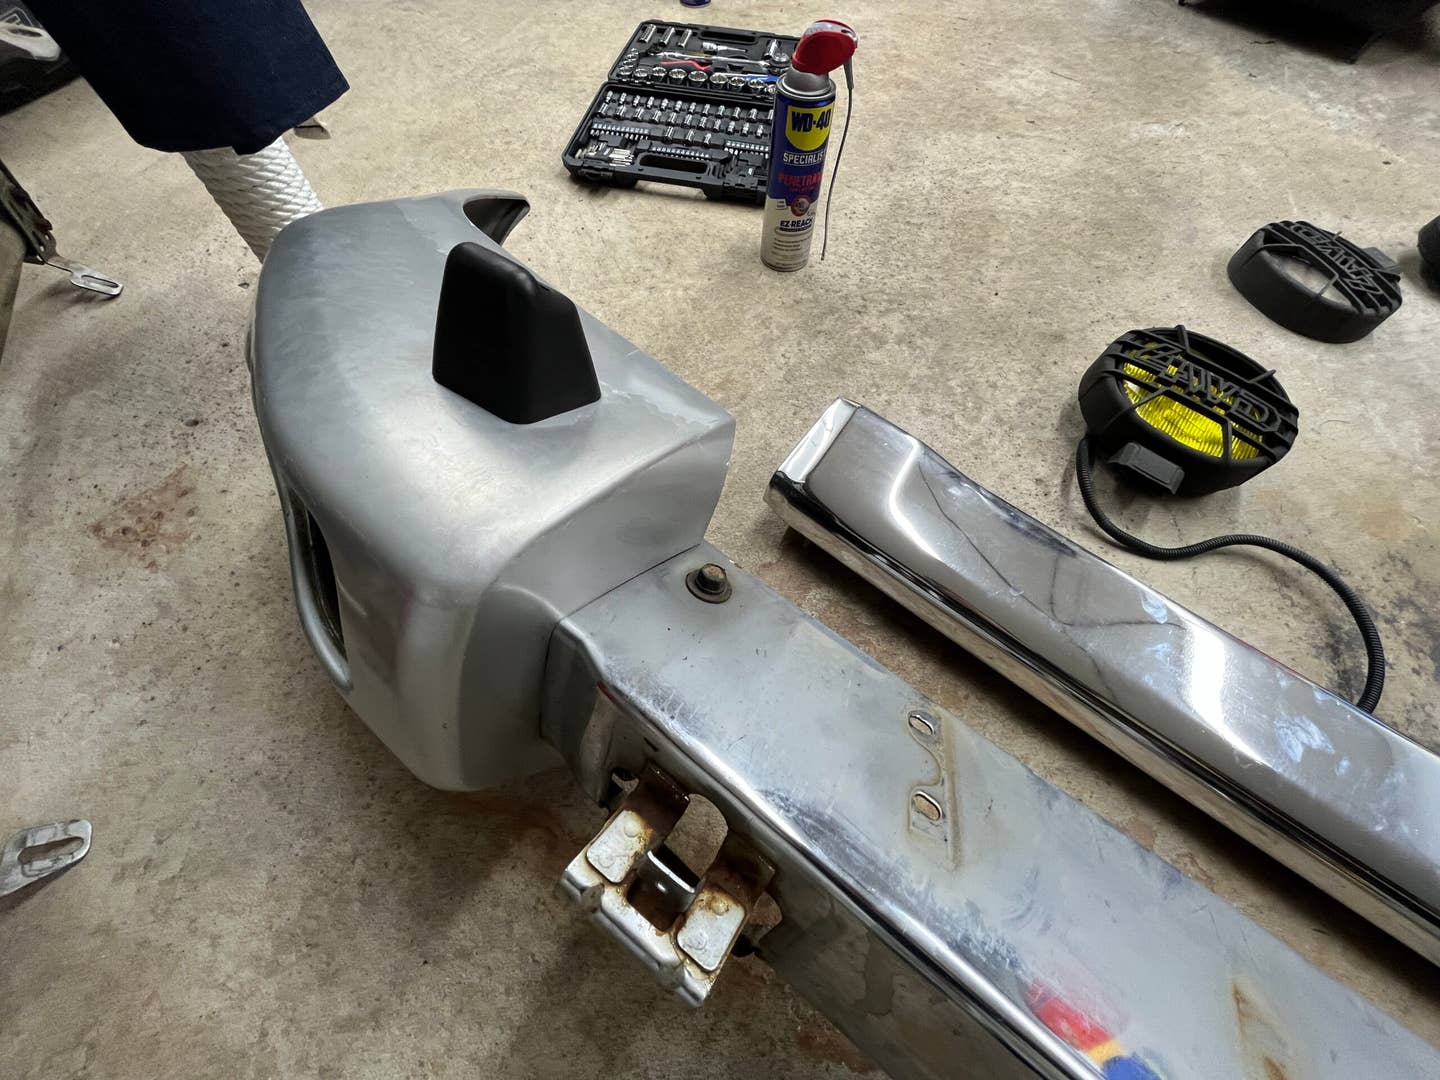
Two little plastic protuberances appeared to be holding the brush guard back from getting too close, those came off easily enough too … but didn’t make enough room for my brush guard. Damn!
At that point, I realized I had to either make cuts to my bumper or make some kind of adapter for the brush guard. Or put the stock setup back on and use the JDM guard and lights as wall art, which would actually be pretty cool too.
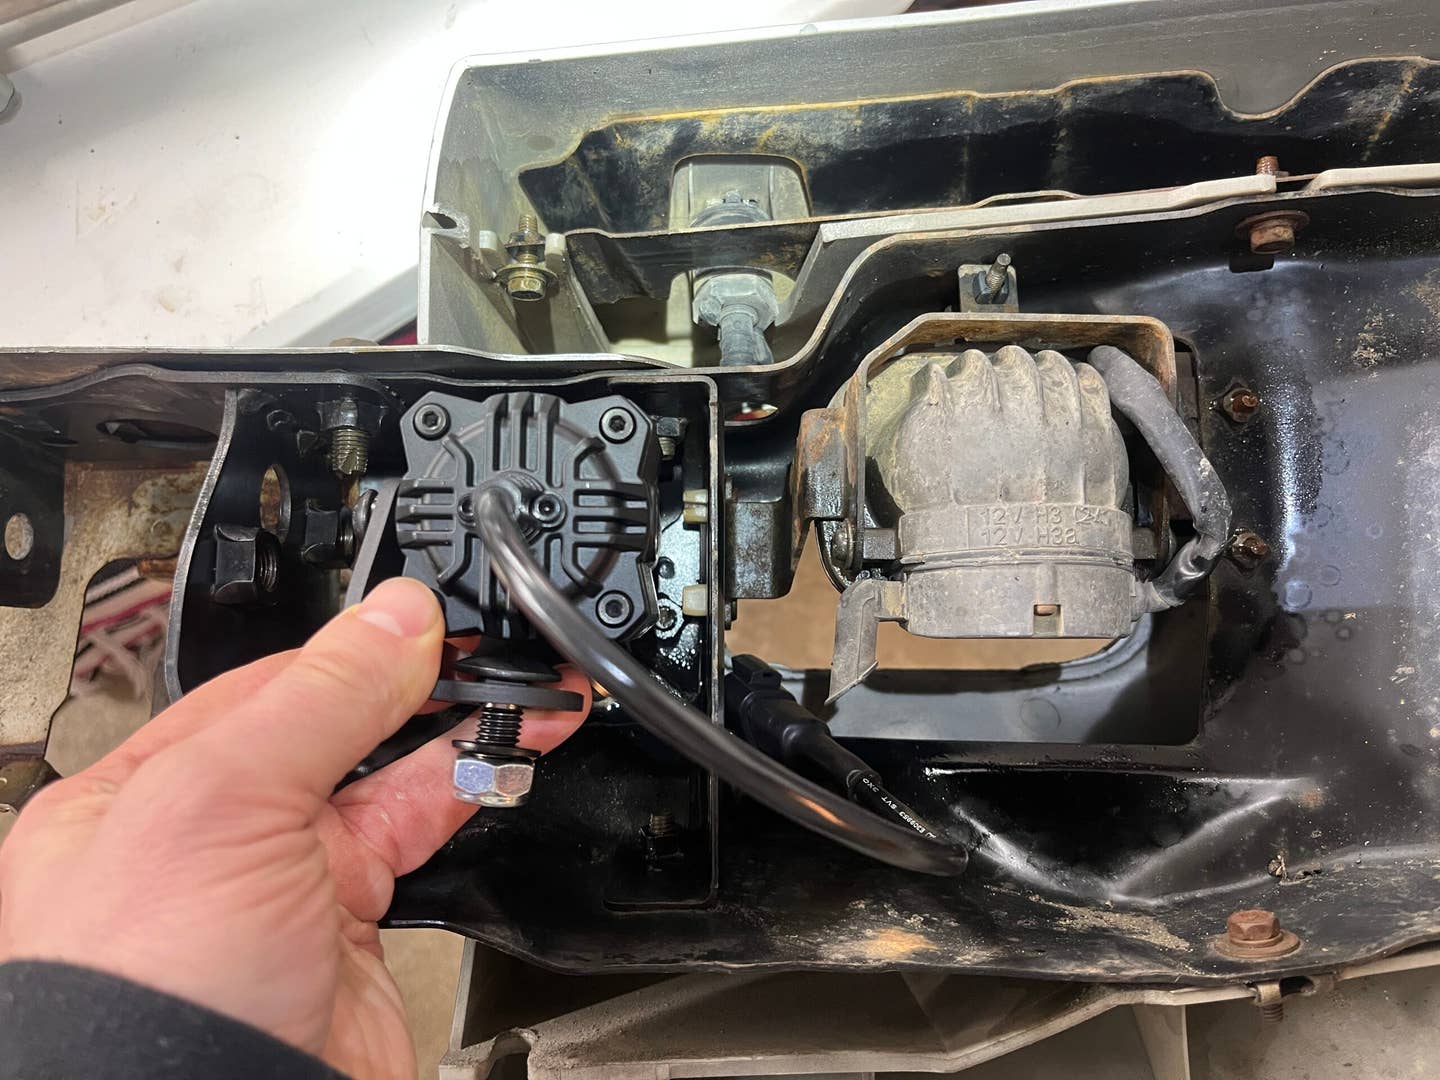
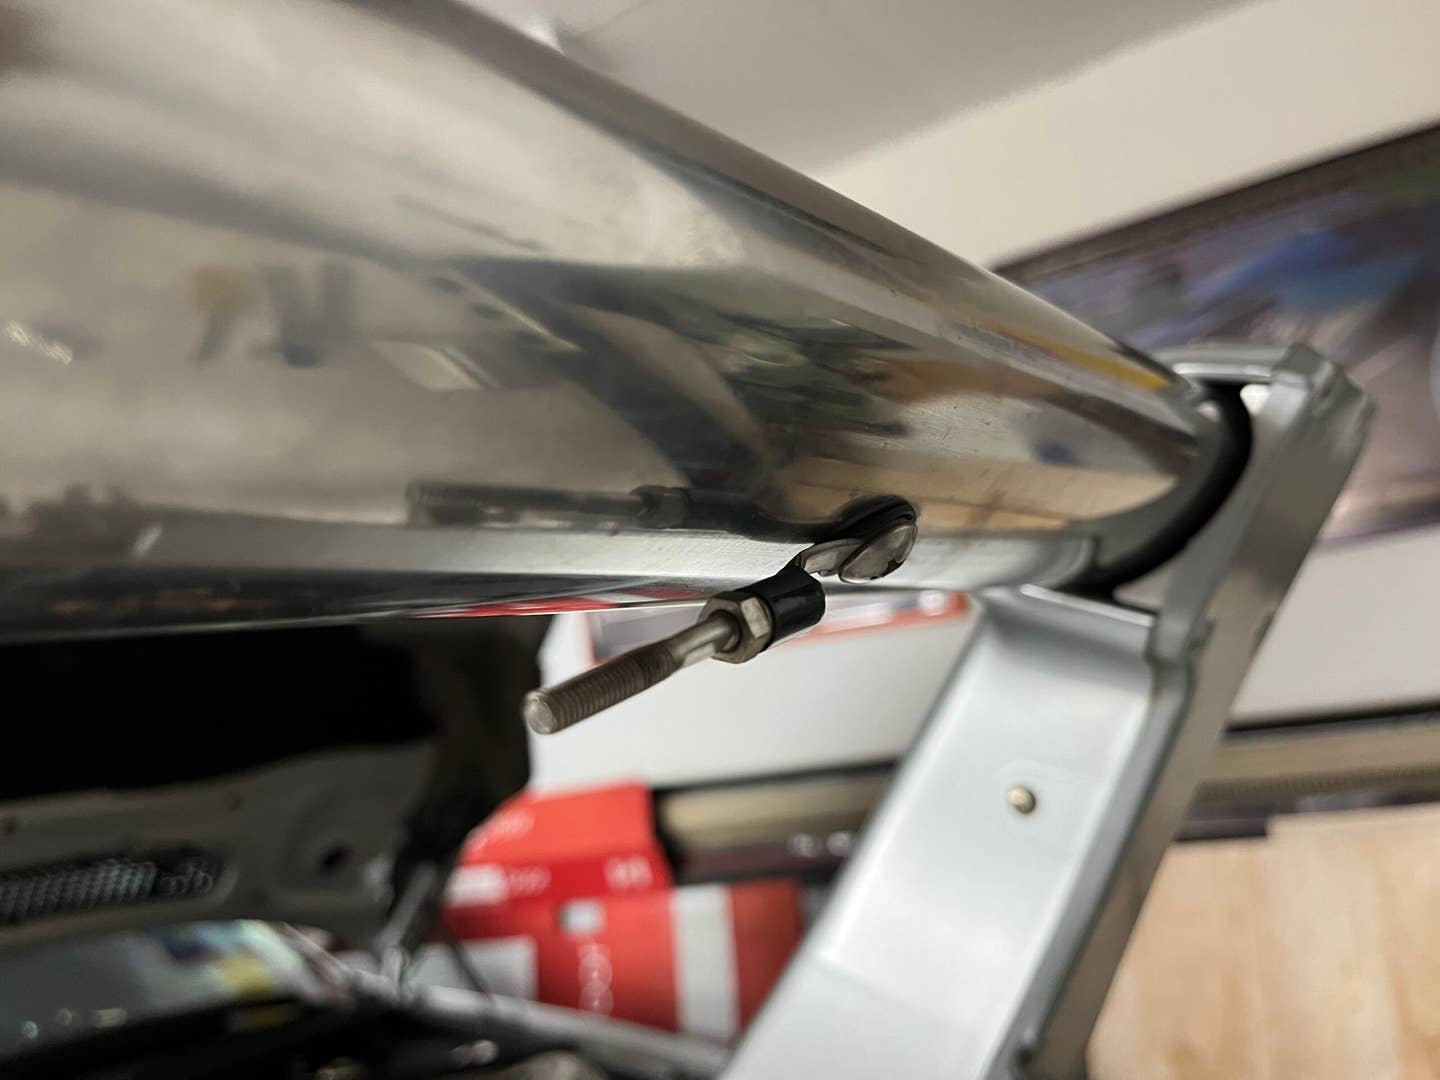
Putting that thought on the back burner, I turned my attention to the smaller set of lights, which slot into the corners of the factory bumper. It’s no surprise that the KC light’s mounting bolt doesn’t line up perfectly with the Montero’s existing light bracket, but it does look like I’ll be able to drill a small hole and make my own adapter fairly easily. I have some experience with this and I’m confident it’ll be no problem.

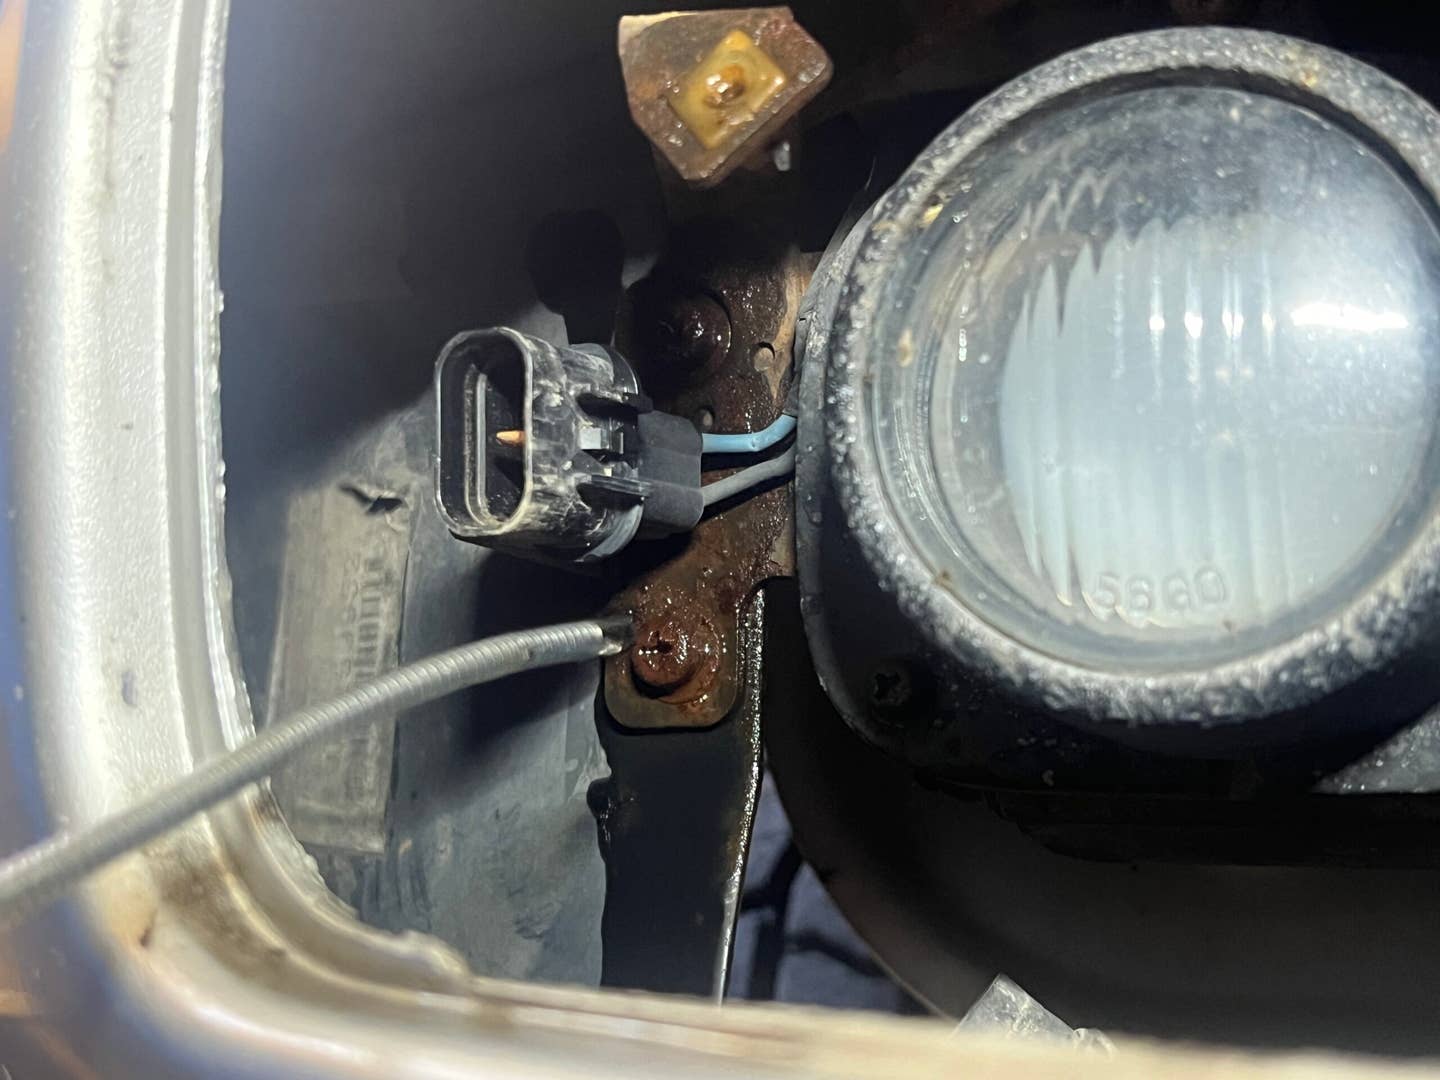
The factory fog lights on this truck have never worked for me because the previous owner did some weird wire-butchering to run some dumb aftermarket lighting setup that I deleted years ago. Generally, I’m committed to making this vehicle look period-correct and would be reticent to replace factory fogs with fancy new LED ones. But in this case, the KCs will be mostly concealed by the bumper and won’t mess up the truck’s ’90s looks.
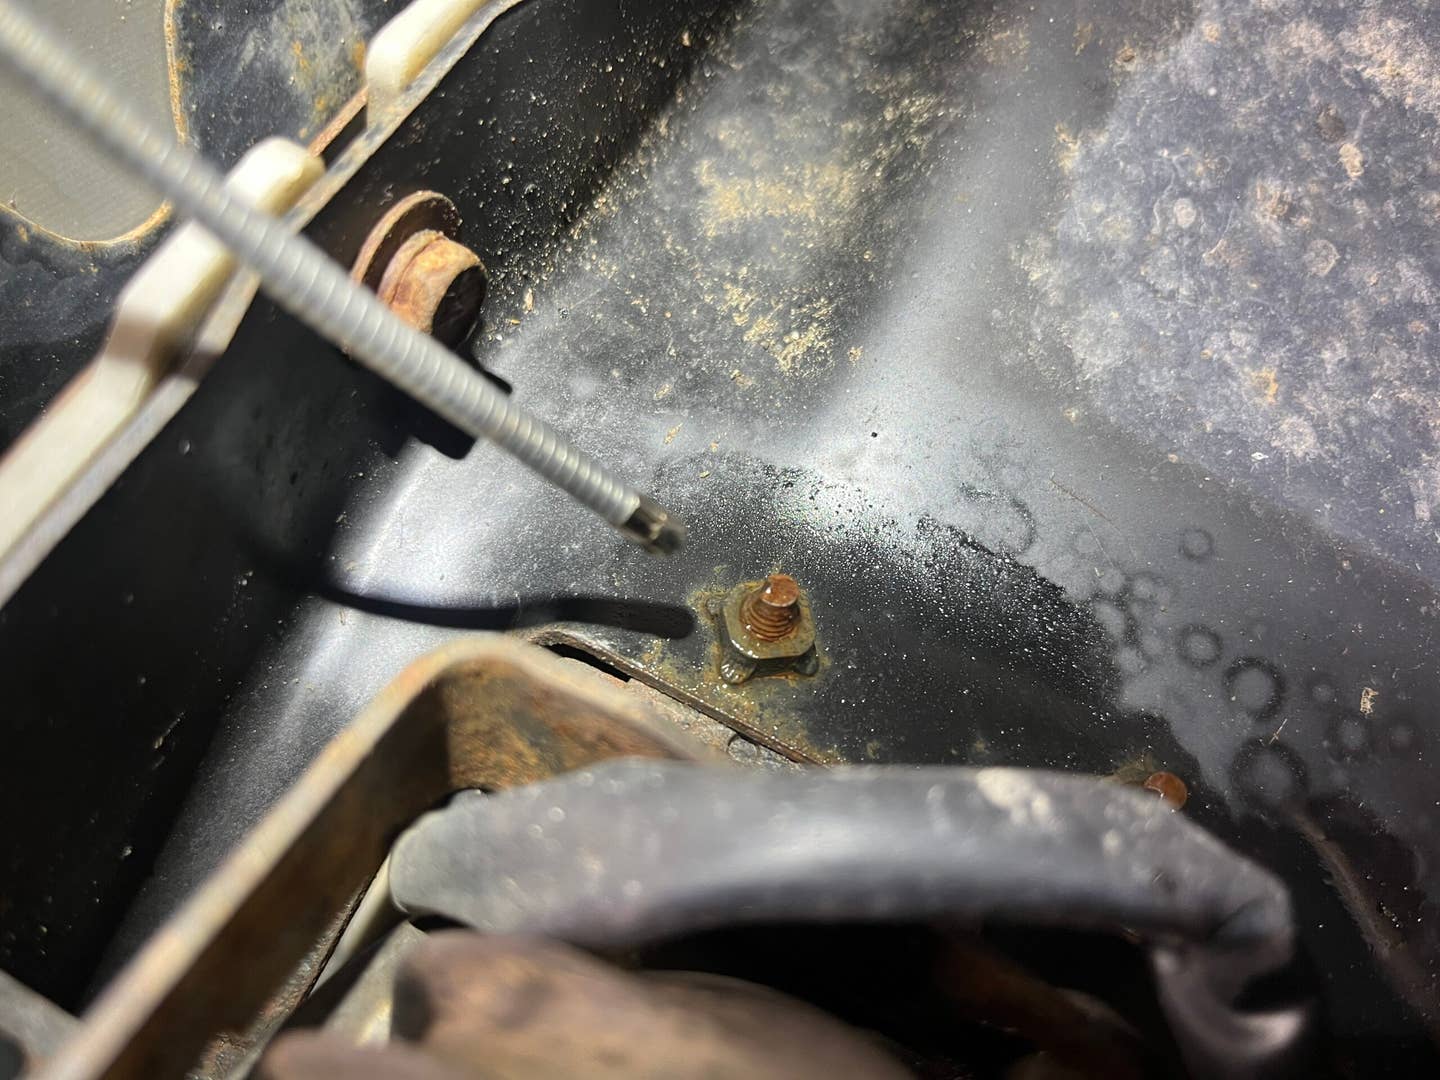
I set topulling the stock fog lights which means, you guessed it, out comes the penetrating fluid again. There’s a reason I picked this project to showcase WD-40 Specialist Penetrant with EZ-REACH, it’s a keystone tool here!
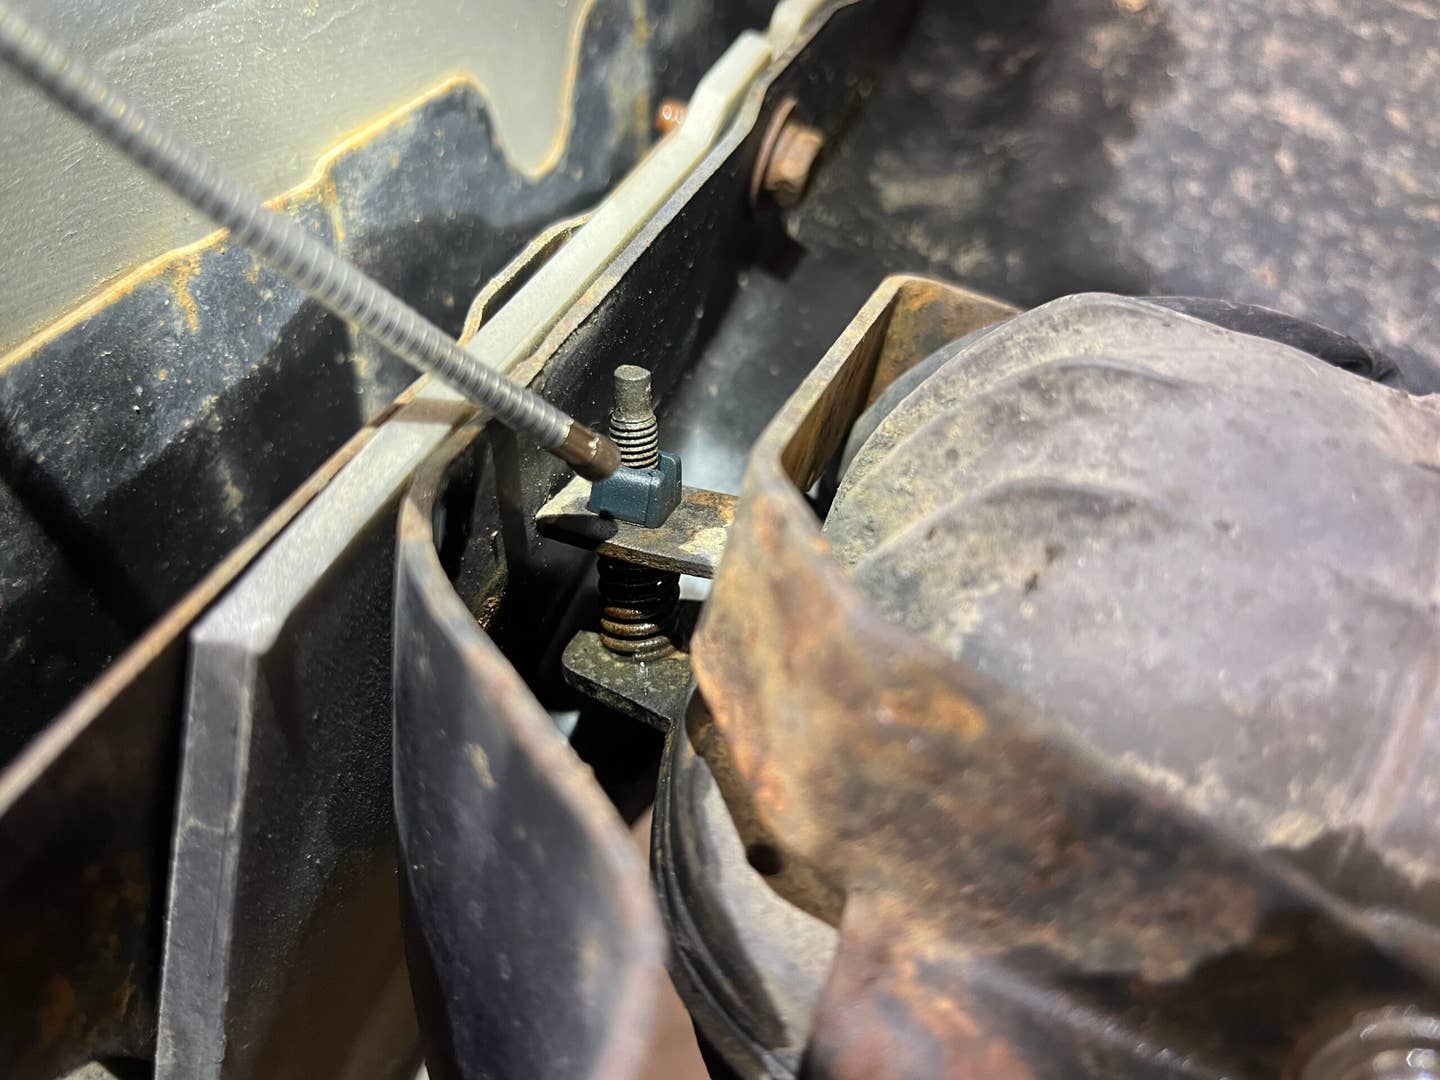
Removing old fog lights is a surprisingly fraught task because they’re typically held in by small screws which get exceptionally rusty. The situation is ripe for stripping screw heads, and using a torch is impossible because you’re too close to plastic. Penetrating fluid is your friend—I soaked the retaining screws and let them stew in penetrant while I plotted my next moves.
Even if you don’t plan on removing your fogs, hitting any light adjustment screws you have with penetrating fluid any time they’re exposed is a great idea. That’ll keep the spring from binding up if any when you need to tilt them.
This ‘Bolt-On’ Project Turned Into an Engineering One
Test-fitting the brush guard onto the bumper, even off the car, was a little tedious. Dealing with two big chunks of steel is just a little cumbersome. But now that I understand this isn’t quite plug-and-play, I’ve got to plot and scheme the next move. Do I put the stocker back on and try to find a full JDM bumper to pair with the JDM brush guard? That’ll probably be expensive. Do I make some kind of adapter so I can hang the JDM brush guard on the USDM bumper? That will require some care—the brush guard is heavy, so my mounting solution will have to be rock solid. It’ll also act as a damage multiplier in the event of a front-end bumping if it’s poorly fitted. Or, I could just forget it, hang the Japanese piece on my wall (already got a spot picked out) and run the stock setup with the KC lights.
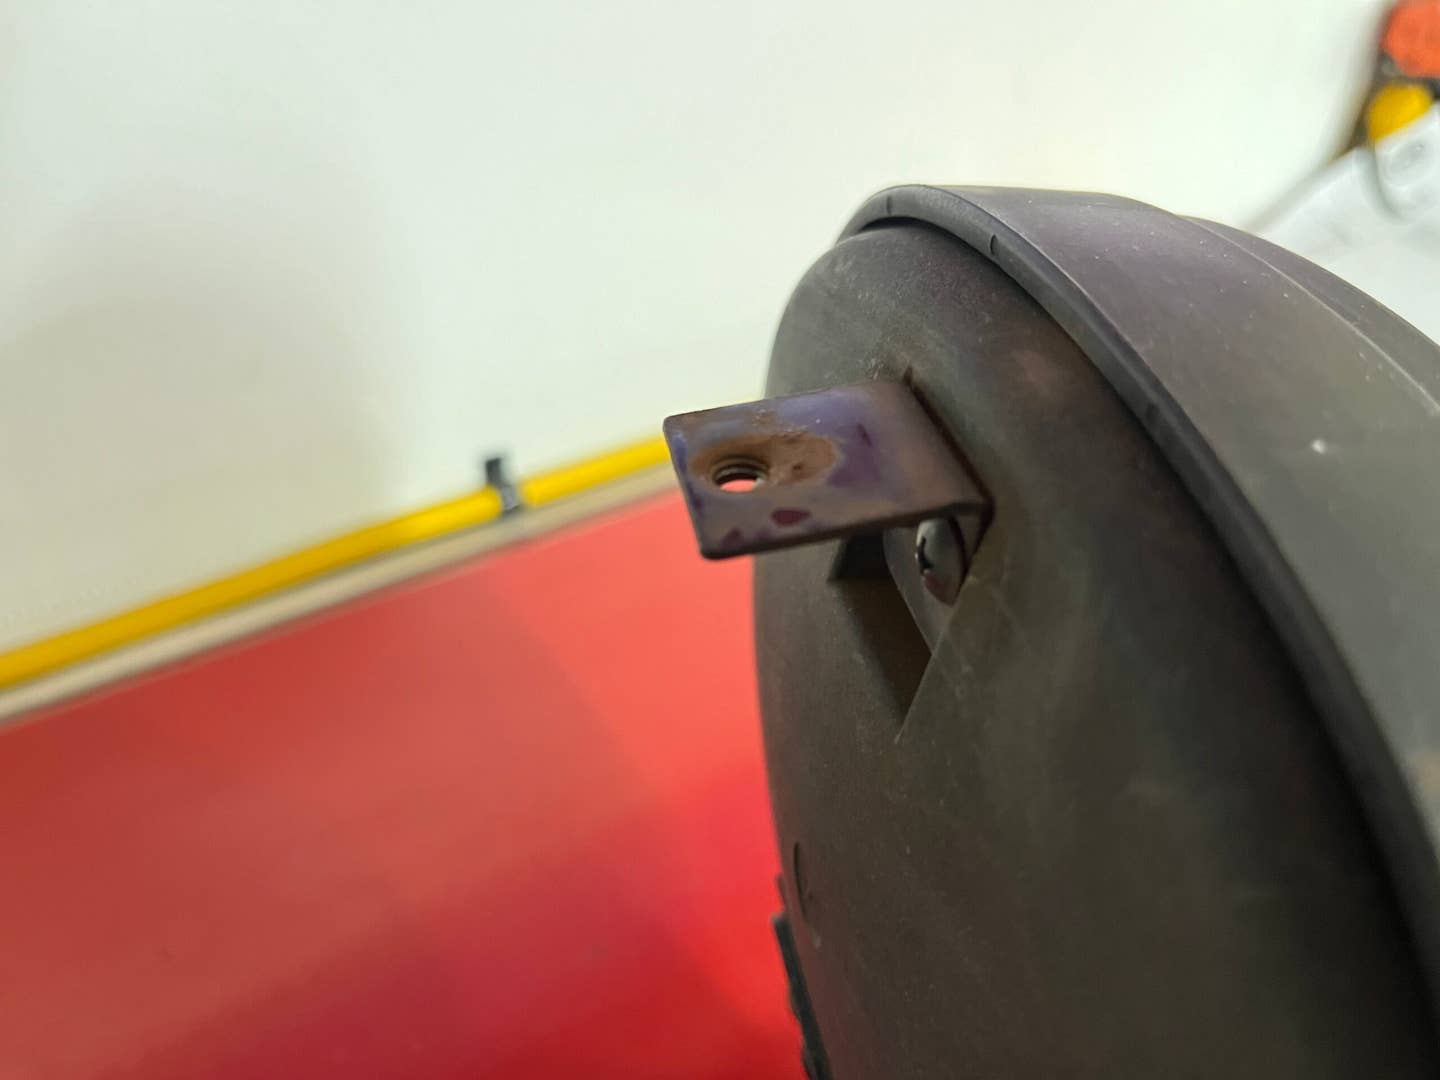
If I do end up running the Japanese bumper setup somehow, I also need a solution for mounting the lights to it. Once again, I thought they’d bolt up beautifully because their mounting holes seem to align with the ones on the brush guard. But no, close inspection reveals the angles are slightly different.
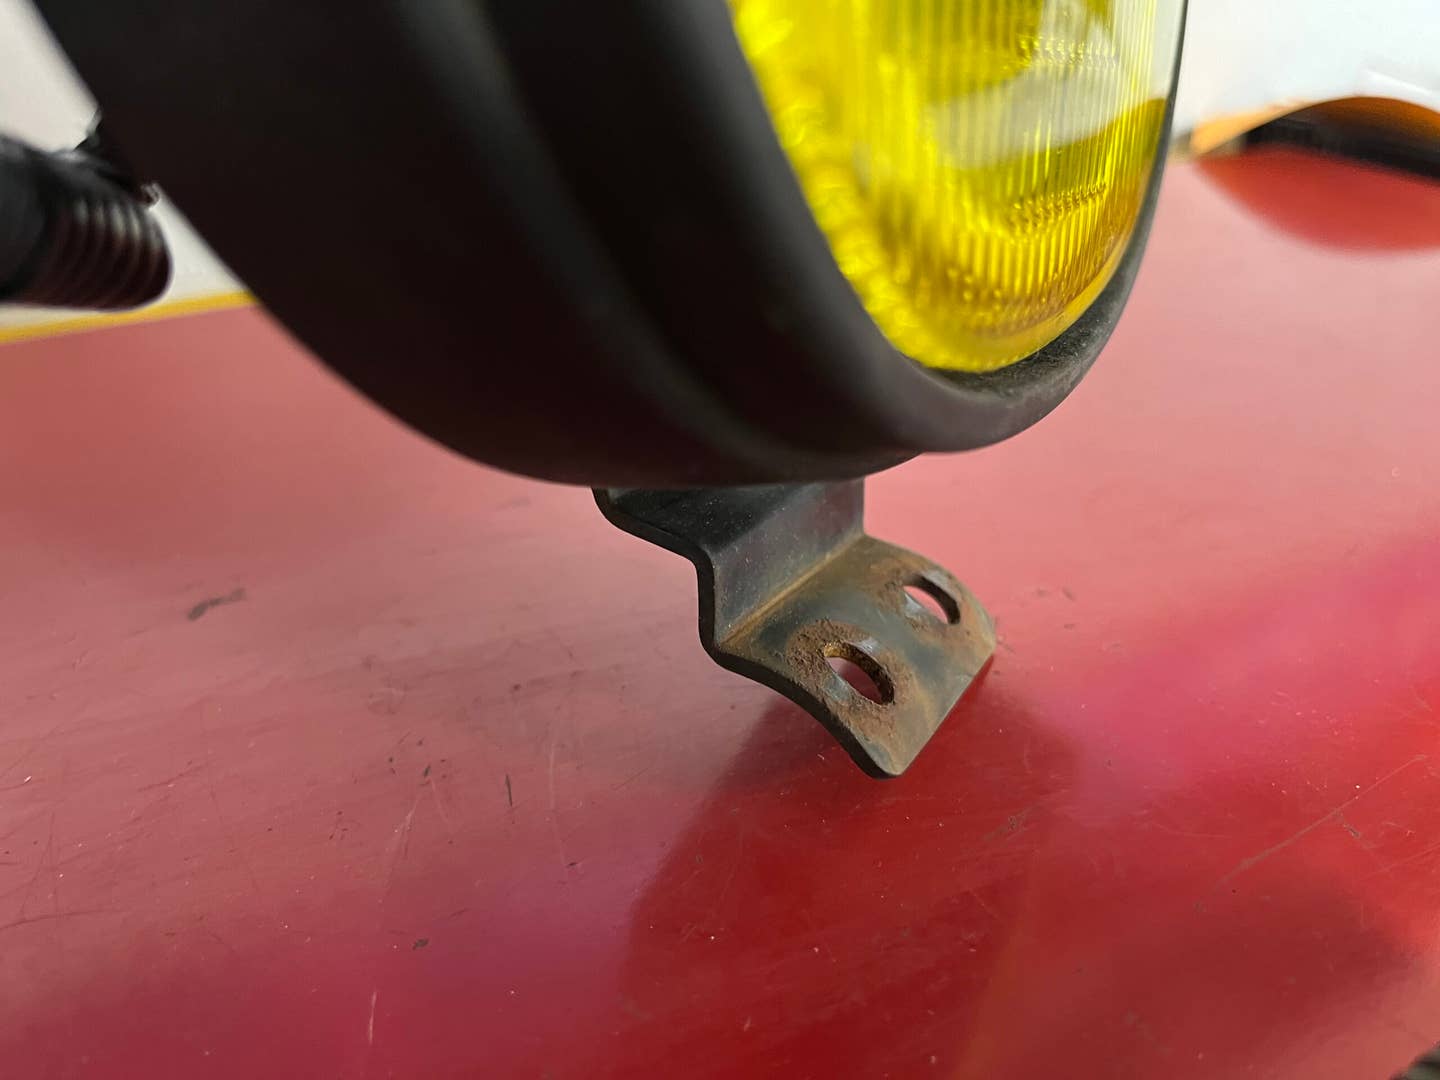
These lights I got are Mitsubishi factory-issue from around the same era as my Montero. But they have a curved mounting foot, probably so they could be bolted onto a round bar. So to use them with my bumper, I could either make some kind of adapter or bend the mount. Not terribly challenging either way, but a problem that will need to be addressed nevertheless. One thing’s for sure, when it comes to mounting large lights like this, strong mounting is critical. They’ll catch a lot of wind and want to wiggle around a lot. And rolling down the road with lights that flail around is not fun for you or anybody you’re sharing the road with.
At this point, I’ve done a lot of pontificating and posing parts near each other while scratching my head and not doing much actual work. Indecision has been my biggest blocker—I can’t even decide if I’d rather have these accessories on my truck or as a decorative wall hanging.
I wouldn’t recommend freestyle wrenching like this on every project per se, but sometimes you can only get so far looking at diagrams, videos, and forum posts. Ultimately, you might just need to do some exploratory surgery—start peeling some parts of your car away to figure out exactly what’s needed to make a project work.
I might still be too scatterbrained to commit what path from here, but at least I was able to take the front of my truck apart easily with the right tools!
